How to create interactive wall sensors with Electrode Pads

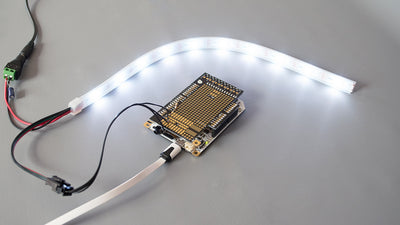
Use Electrode Pads and Electric Paint to create interactive graphics on your interactive wall
If you want to create precise wall sensors on the front of your wall, we recommend using Electric Paint with the Electrode Pads. This method uses a machine screw that connects the Electric Paint on the front to the Electrode Pad at the back, so you need to drill a hole in your wall for the screw. By using a machine screw, the Electrode Pad can be easily removed and reused. Using stencils, you can paint precise sensors with Electric Paint.
You can also create your sensors at the back of your wall without needing to drill.
We love it when you share your projects! Post your project on Instagram, YouTube, or Twitter, and make sure to tag @bareconductive or use #bareconductive. You can also send your videos and photos to info@bareconductive.com so we can post them on our site for the world to see.
You will need:
- 1 x Interactive Wall Kit
- Sundry painting supplies
Step 1 Mark and drill location
First, choose a location where you want the sensor to be. This is the point where your users are going to interact with the wall. Drill a hole for the machine screw using a 3.2mm diameter drill bit. You want the screw to sit flush with the wood so that it is as unobtrusive as possible. To do so, you need to create a countersink with a countersink bit.
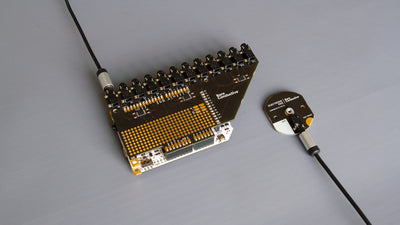
Step 2 Screw on Electrode Pad
With the machine screw in place, you can screw the Electrode Pad on. Afterward, use two self-tapping screws to fix the Electrode Pad in place. Make sure that the self-tapping screws are screwed in straight.
Step 3 Paint sensor
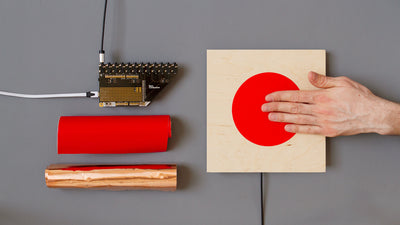
Once the Electrode Pad is attached to the back, you can paint or stencil the sensor on to the front of the wall. It’s good practice to remove the stencil before the Electric Paint has fully dried to avoid cracking of the paint. Once removed, leave the paint to dry.
Step 4 Test wall sensor
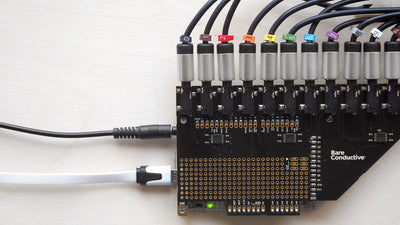
Once the paint has dried, plug one end of the shielded cable into the Electrode Pad and the other into the Electrode Shield. Turn the Touch Board on, or reset it, and wait until the red light stops flashing to test your wall sensor by touching the paint.
If you are not getting the output you expected, chances are you need to adjust the settings of the Touch Board – refer to the How to calibrate tutorial for more information.