Use the LED on the Pi Cap to monitor the status of your project

Add the LED to your code and use it to debug interactive Pi Cap projects
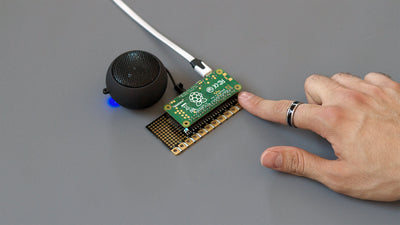
The LED on the Pi Cap has seven colors: red, blue, green, yellow, cyan, magenta, and white. The various colors allow you to create status indications in your code. For example, if an electrode is touched or if a code is running, you might want to display a certain color. In this tutorial, we are going to show how to include the LED in the simple-touch.py code. Here, we SSH into the Pi, but if you don’t want to use SSH and the terminal, you can also use a monitor, keyboard, and mouse connected to your Raspberry Pi.
We love it when you share your projects! Post your project on Instagram, YouTube, or Twitter, and make sure to tag @bareconductive or use #bareconductive. You can also send your videos and photos to info@bareconductive.com so we can post them on our site for the world to see.
You will need:
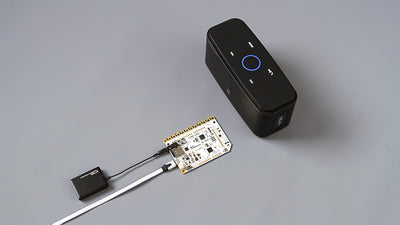
- 1 x Pi Cap
- 1 x Raspberry Pi
- 1 x Power supply and cable
Step 1 Setting up your Pi Cap with a Pi
If you haven’t set up your Pi Cap, then make sure to complete one of our set up tutorials first.
Step 2 Inspect colour-spin.py
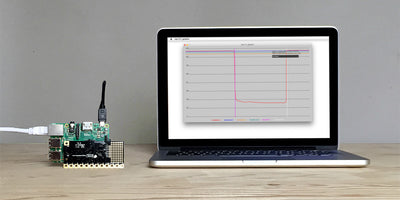
After you’ve SSH’d into the Pi, open the colour-spin.py script, by entering “nano PiCapExamples/Python/picap-colour-spin-py/colour-spin.py”. At the beginning of the code, from code line 38 to 60, is where the LED on the Pi Cap is set up. This is the part that you need to include the LED in your code. Select and copy that section of the code and exit the code by entering CTRL + X. You can also find this code on GitHub.

Step 3 Edit simple-touch.py
Now open the simple-touch.py script by entering “nano PiCapExamples/Python/picap-simple-touch-py/simple-touch.py”. Copy and paste the code selection from the previous step just underneath the line “import signal, sys, MPR121“. This will set-up the LED for the simple-touch code.
Further down in the simple-touch.py code, you can see the parts where the electrodes are touched and released. Add “light_rgb (0, 0, 1)” below the line “print “electrode {0} was just touched“.format(i)” and further add “light_rgb (0, 1, 0)” below the line “print “electrode {0} was just released“.format(i)”. Make sure to include the right spacing before the light_rgb lines – they need to be indented to the same level as the print lines above them.
When you are done, enter CTRL + X, then Y, then enter.


Step 4 Run the code
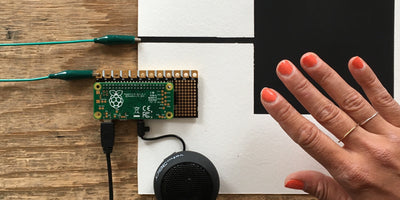
If you now enter “./run”, it will run the new simple-touch code. If you touch an electrode, the LED will light up blue, and when you release it again, it will light up green.
If you want to use different colors, have a look at the color-spin code. At the bottom of the code, you can see the set-ups for each color.
In this tutorial, we used the Python code, but the same methods apply for the C++ or Node example programs. Just make sure to head to the correct folder location.