Create A Touch Sensor For The micro:bit With Electric Paint

Learn how to use micro:bit with Electric Paint
The micro:bit is a great device to get started with electronics and in this tutorial, we are going to show you how to create a touch sensor for the micro:bit with Electric Paint. All you need is a micro:bit, some Electric Paint and a crocodile clip. Feel free to use the code for your next project and, for example, create a touch switch for your application.
The code was written by Barry Byford, who also wrote a comprehensive explanation about the code on his blog post. Thank you for sharing it with us, Barry!
We love it when you share your projects! Post your project on Instagram, YouTube, or Twitter, and make sure to tag @bareconductive or use #bareconductive. You can also send your videos and photos to info@bareconductive.com so we can post them on our site for the world to see.
You will need:
- Electric Paint 10ml, 50ml or 1l
- micro:bit
- crocodile clip
- paper
- Sundry painting supplies
Step 1 Download the code
First, download the code and upload it to your micro:bit.
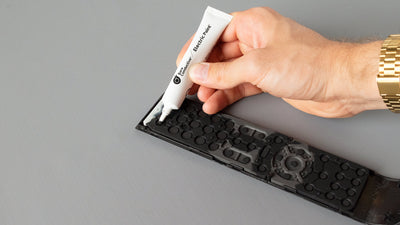
Step 2 Prepare your sensor
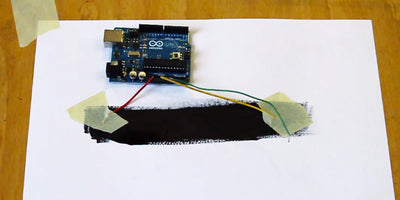
When you have uploaded the code to your micro:bit, you can paint your sensor with Electric Paint on a piece of paper. We have just painted a simple square, but you can paint anything you like! Make sure to paint a connection to your sensor from the edge of the paper. Leave the paint to dry for about 15 minutes.

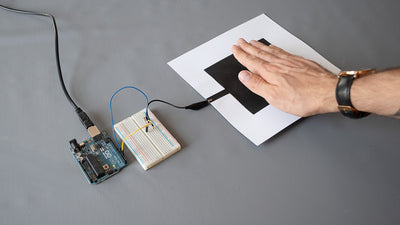
Step 3 Connect sensor to the micro:bit
Once the paint has dried, connect the sensor to the pin 0 of the micro:bit with a crocodile clip.

Step 4 Calibrate micro:bit
Connect your micro:bit to power and first press the “A” button. This will calibrate the micro:bit and a number will flash across the screen. Once it has calibrated, press button “B” to start sensing. The middle LED should light up.

Step 5 Touch the sensor
If you now touch the sensor, all of the LEDs should light up. That’s it! You have created a touch sensor for the micro:bit. You can use this code as part of your project and for example, create a touch switch for your application.

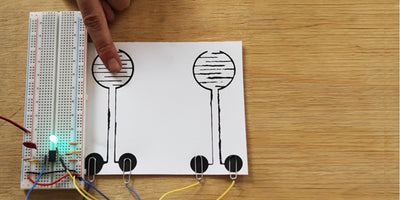
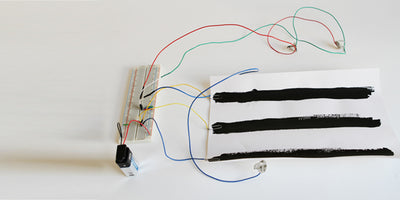
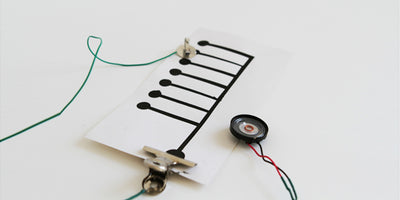
Step 6 Try with Printed Sensors
Alternatively, you can use the Printed Sensors to quickly create a touch sensor for the micro:bit. We have cut out a small diamond. Make sure to leave part of the sensor access node to connect to the micro:bit.