How to seal Electric Paint against liquids and smudging

In order to prevent Electric Paint from smudging or cracking, we recommend sealing the paint
Electric Paint is a water-based paint, which means that it is easy to wash off. But it can also be prone to smudging, even when it's dry. By sealing the paint, you will protect your design and make it smudge-proof. This tutorial is appropriate for projects that use Electric Paint as a capacitive sensor (as in Touch Board and Pi Cap projects) and in projects using Electric Paint as a cold solder or a wire.
We love it when you share your projects! Post your project on Instagram, YouTube, or Twitter, and make sure to tag @bareconductive or use #bareconductive. You can also send your videos and photos to info@bareconductive.com so we can post them on our site for the world to see.
You will need:
- 1 x Electric Paint 10ml, 50ml or 1l
- Suitable varnish
- Sundry painting supplies
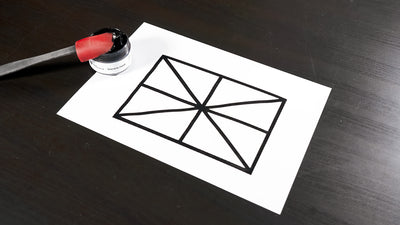
Step 1 Prepare your Electric Paint design
Before you seal your Electric Paint, make sure that it has dried completely and your design is working as expected. Consider which aspects of your design you wish to varnish and which sections of Electric Paint you will leave exposed to create an electrical connection to other components in your project. The varnish will cover the surface of the Electric Paint and make it non-conductive. The Electric Paint will still be conductive underneath the varnish, but you won't be able to connect any crocodile clips or cold solder to the paint. Therefore you need to exclude or cover any area where you want to connect to the sensor later. You can do this with a bit of masking tape.
Step 2 Spray varnish over paint
With the connection area covered, coat the Electric Paint with an acrylic varnish. You can use a brush or spray applied varnish.
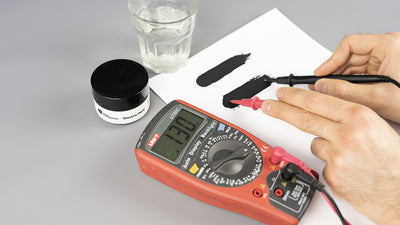
Step 3 Test varnish
Leave the varnish to dry, and then check if you have covered the sensor completely by touching the surface with a wet finger. If any Electric Paint comes off on your finger, apply an additional coat of varnish. Once it's fully sealed, you can remove the cover and connect your sensor to your board.
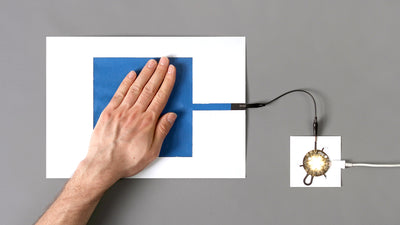
Step 4 Different material
This varnish works well on paper and wood, so you can use this sealing method for any wall installations you've created with Electric Paint. If the paint has a connection to the back of the wall, you can completely cover the front of your design with varnish.

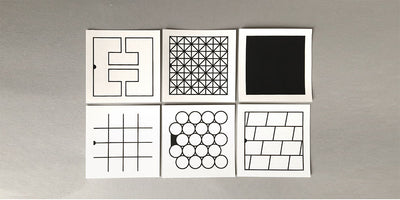
Step 5 Printed Sensors
Alternatively, you can also use our Printed Sensors. They come already sealed and have multiple access nodes for connections. As they can be cut to different shapes and sizes, they are great for quick prototyping and proximity sensing.