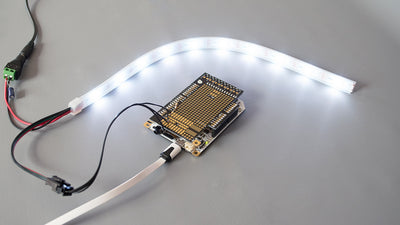
Explore the Light Up Board's six different lighting functions

Learn how to access and use all of the Light Up board's capability in your projects
The Light Up Board can be set to six different modes. Three of the modes are used in the Electric Paint Lamp Kit to create a Touch, Dimmer, and Proximity lamp. But the Light Up Board comes pre-programmed with three additional modes for you to explore. Below we explain what these are and how to set the board for each mode.
We love it when you share your projects! Post your project on Instagram, YouTube, or Twitter, and make sure to tag @bareconductive or use #bareconductive. You can also send your videos and photos to info@bareconductive.com so we can post them on our site for the world to see.
You will need:
- 1 x Light Up Board
- Electric Paint 10ml, 50ml or 1l
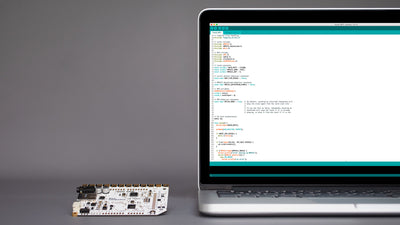
- 1 x USB Micro B to USB A or USB C (depending on your computer's USB port type)
- 1 x USB power supply
Mode 1: Touch
This mode is part of the Touch Lamp template that comes with the Electric Paint Lamp kit. To get the Light Up Board into this mode, you need to connect electrodes E9 and E10 and touch electrode E0 to turn on the lamp. Easy!
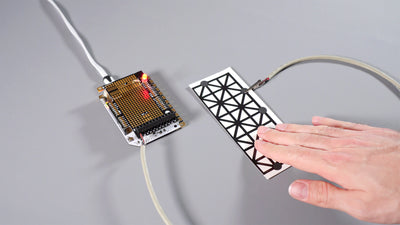
Mode 2: Dimmer
The second mode is the one used for the Dimmer Lamp in the Electric Paint Lamp Kit. For this setting, you have to use all of the six electrodes. Electrode E8 turns the lamp off, and electrode E2 sets the lamp to its brightest setting.
E8 – Off
E9 – Low
E10 – Low/Med
E0 – Med/High
E1 – High
E2 – Brightest
When painted in the right sequence, the light will brighten or dim as you move your finger along the electrodes. We do this using a circular rotary switch in the Electric Paint Lamp Kit.
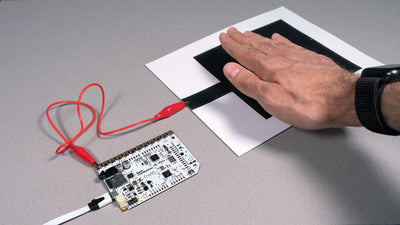
Mode 3: Proximity
The third mode is the Proximity Lamp in the Electric Paint Lamp Kit. It uses four electrodes in total: Electrode E1, E2, E8, and E9. Electrode E2 and E8 are connected together. When you touch and hold electrode E1, you can change the brightness by approaching E9. The size of the sensor made with Electric Paint is important: the bigger it is, the better you can change the brightness when approaching the sensor. You can read more about sensor design here.
Mode 4: Candle
This is the first of the three additional modes. Connect electrodes E1 and E2, and turn on the lights by touching E0. Candle mode simulates the light emitted by a candle by making the LEDs flicker in a random pattern. This effect is most visible in the dark!
Mode 5: Spin
This extra mode serves as the error mode and will go off if you've made an error when connecting the electrodes of one of the other modes. However, you can also set it by connecting electrodes E8 and E10 and touching E0.
Mode 6: Dice
The last mode is the dice mode. Connect electrode E8 with E9 and touch E0 to roll the dice!