5 Ways To Customize Your Electric Paint Lamp Kit

In this tutorial, we will show you 5 ways to customise your Electric Paint Lamp Kit. This is great if you want to add your own touch to the Electric Paint Lamp Kit, or if you are running a creative workshop. We’ve used the Touch Lamp in our examples, but of course, you can also apply these methods to the Dimmer and Proximity Lamps.
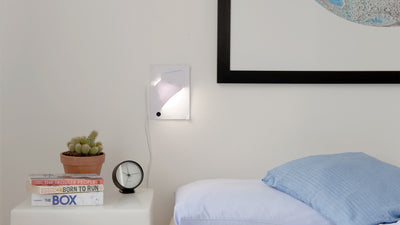
1. Change the colour of your lampshade
The first way to customise your lamps is by using coloured card to change the colour of the lampshade. All you need is your preferred lamp shade from the kit, some coloured card, a cutting knife and a cutting mat. Make sure to use coloured paper that is thick enough, we recommend paper with a thickness of at least 160gsm. First, similar to the tutorial How to cut your own Electric Paint Lamp Kit templates, place the lampshade on the coloured paper and cut out the new shade. Then, cut along the traces and tabs of the lampshade. Don't forget to make a circle for the button. Afterwards, fold the lampshade according to the instructions from the kit. You can also use this method to replicate any of the lampshades from the kit.

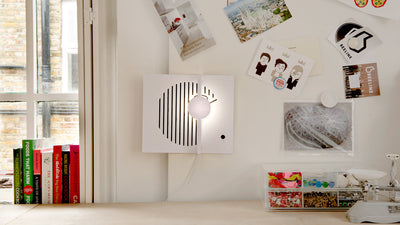
2. Cut shapes into your lampshades
Another fun way to customise your lamp is by cutting shapes into the lampshade. In this example, we cut small holes into a black lampshade. In like manner, we made the black lampshade using the method above. Feel free to cut any shapes you want!

3. Use wrapping paper on your lampshades
In this method, we used wrapping paper to decorate our lampshade. First, apply glue to the lampshade and stick it to the wrapping paper. We used adhesive spray for the best effect. Then, with the cutting knife, remove any excess wrapping paper by cutting out the shape of the lampshade, as well as the trace lines and tabs. There you go! This method is quick to implement and allows you to use intricate designs on your lampshade.

4. Customise the whole lamp
Why only customise the outside of the lampshade when you can customise the inside too? In this example, we used the method from above and applied it to the lamp's template. Additionally, we also added a black lampshade to highlight the design underneath the shade. Need a bit more guidance? Check out our How to cut your own Electric Paint Lamp Kit templates tutorial.

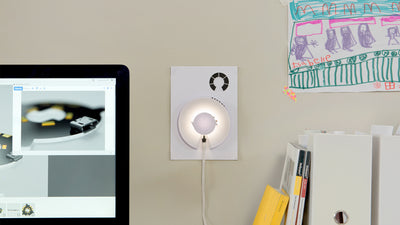
5. Change the colour of the light
Changing the colour of the light in your lamp is easy, simply use some coloured tissue paper! First, place the Light Up Board on the tissue paper and draw a circle around the board. Then, cut the circle with a cutting knife. Finally, stick the tissue paper onto the centre of the template with some Blu Tack. Similarly, you can easily change the colour by using different coloured tissue paper.