Turn your Artwork into a Wireless Light Switch

You can create a wireless light switch with the Touch Board by combining with an ESP8266 module, IFTTT and Philips Hue. ESP8266 is small little module with which you can easily add WiFi to your projects, you can source it from various electronics resellers. IFTTT is a platform that allows you to connect various online services together, for example your social media accounts, in order to create your own algorithms. Philips Hue is a popular smart bulb, which we are going to activate via IFTTT.
We love it when you share your projects! Post your project on Instagram, YouTube, or Twitter, and make sure to tag @bareconductive or use #bareconductive. You can also send your videos and photos to info@bareconductive.com so we can post them on our site for the world to see.
You will need:
1 x Touch Board
1 x ESP8266 module
1 x Proto Shield / breadboard
4 x 1kΩ resistors
Wires
1 x Philips Hue light bulb
1 x Philips Hue bridge
1 x IFTTT account
Connect the ESP8266 module to the Touch Board
In order to connect the ESP8266 module to the Touch Board just follow the wiring diagram below. You can either use a breadboard to wire everything up, or if you have the Proto Shield, solder everything together on the shield. It's important to connect to the 3.3V power rail and not the 5V.
| ESP8266 Module | Touch Board |
| VCC (red) | 3.3V |
| Reset (yellow) | 3.3V (with 1 x 1kΩ in series) |
| CH_EN (orange) | 3.3V (with 1 x 1kΩ in series) |
| TX (green) | RX |
| RX (blue) | TX (with 1 x 1kΩ in series and 1 x 1kΩ to GND) |
| GND (black) | GND |

Upload the esp8266_ifttt_hue code to the Touch Board
If you haven't uploaded code to the Touch Board before or just need to refresh your memories on how to upload code, please refer to this Arduino set-up tutorial.
When you're ready to change the code, close the Arduino IDE and then either clone the code from our GitHub or download the ZIP file here. Extract the contents somewhere that suits you and open the esp8266_ifttt_hue.ino file.
Next, you need to add the ESP8266 library to Arduino. Within Arduino, go to Preferences and in "Additional Board Manager URLs:" enter:
http://arduino.esp8266.com/stable/package_esp8266com_index.json
Then go to Sketch → Include Library → Manage Libraries... and search for "wifiesp". Install the WiFiEsp library.
With the library installed, you can now edit the code. Inside the code, you need to change the settings of the code for your own internet settings. In line 50, find the variable
char ssid[] = "";
and enter your WiFi name. In the line below, line 51, find the variable
char pass[] = "";
and type your WiFi password. Don't worry, only you can see the code, so this is safe to do so.
Then, upload the code to the Touch Board, making sure to select the right settings, in Tools → Board and Tools → Port.
Open the Serial Monitor of the Arduino IDE and change the BAUD rate to 115200. After a couple of seconds, you should see the line "You're connected to the network", the confirmation that your Touch Board has connected to your WiFi!
That's the first part done, you can close the Serial Monitor for now.
Add IFTTT to the project
If you don't have an IFTTT account yet, you can do so on their website.
Once you've created one and are logged in, click on "Create", then "If This". Select "webhooks" and then "Receive a web request". Enter "toggle_lights" as an event name. Then click on "Then That" and select "Philips Hue" and then "Toggle lights on/off". Follow the instructions to connect your Philips Hue with IFTTT, then select your light you want to toggle, which in our case is "Hue color lamp 1". Click "Continue" and then "Finish", you don't need to change the title. You have now created your applet!
Next, we need to add the applet to our code. First, go "my services" in IFTTT, then on click on "Webhooks". Click on settings. Here you have your own IFTTT URL starting with "https://maker.ifttt.com/use/", but we only need the part that comes after "/use/": that is your webhook key. Copy that key.
Back in the esp8266_ifttt_hue.ino code, go to line 53 and paste your key for the variable
#define IFTTT_Key "YOUR_KEY"
In the line below, change the event to "toggle_lights" so that you have
#define IFTTT_Event "toggle_lights"
Upload this code to the Touch Board and open the Serial Monitor. After connecting to the WiFi, try touching electrode 11, you should see the line "Sending the event to IFTTT" and your lights should turn on or off!
You don't need your Touch Board connected to your computer. You can unplug it from your computer and plug it into a power source. Give it a couple of minutes to boot and then touch the board again to interact with the lights.
If nothing happens, have a look at the applet on IFTTT and click on "View Activity", it might give you a clue of what's missing, e.g. the Philips Hue bridge isn't online, the light isn't online, etc.
Create a sensor
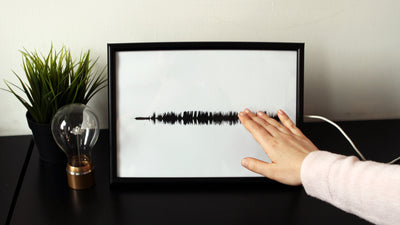
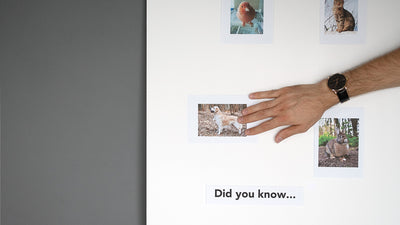
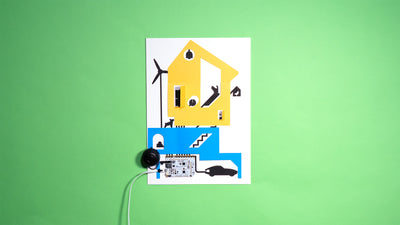
Now that we can turn the lights on and off with the Touch Board, we can think about our light switch and get creative and think about where and how we want to create the switch. You can paint a light switch and connect it directly to the electrode 11. Or paint a sensor on paper or use a Printed Sensor that you connect to electrode 11. You can then hide the sensor by painting over it or by covering it
In this instance, we're using a Printed Sensor that we're hiding behind our artwork. Touching the artwork then turns the lights on and off!