How to make a power switch for the Raspberry Pi

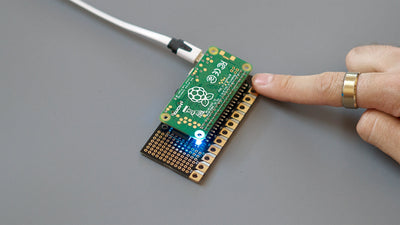
To turn the Raspberry Pi on and off, you first need to log in or SSH into the Pi. A benefit of the Pi Cap, however, is that it includes an on/off button which works as a power switch for the Raspberry Pi. All you need to do is edit a file and include one of our example codes. For this tutorial, we SSH into the Pi to set up the power switch, but if you don’t want to use SSH and the terminal, you can also use a monitor, keyboard and mouse connected to your Raspberry Pi.
We love it when you share your projects! Post your project on Instagram, YouTube, or Twitter, and make sure to tag @bareconductive or use #bareconductive. You can also send your videos and photos to info@bareconductive.com so we can post them on our site for the world to see.
Edit a file
Once you have SSH’d into the Pi, enter “sudo nano /etc/rc.local” into the Terminal window and hit enter. At the bottom of the file, add “bash /home/pi/PiCapExamples/cpp/picap-button-utility-cpp/run &” in-between “fi” and “exit 0”. If you now press CTRL + X, then Y, then enter, it will save the recent edits in the file.

Restart the Pi
If you now reboot the Pi with "sync && sudo reboot", the Pi will launch with the power switch in place. If you double press the switch, it will reboot the Pi, if you press and hold the switch down it will turn the Pi off.