How To Use An LED Strip With The Touch Board

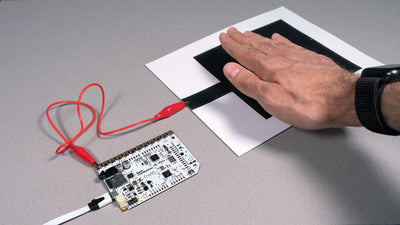
The Touch Board’s capacitive sensors allow you to create all kind of touch and proximity switches. In this tutorial we show you how to use the Touch Board and Adafruit’s Neopixel together and create a touch switch for the . Adafruit’s Neopixel encased aren’t the only ones available, but the one we test was the most accessible . You can buy the at different lengths, always in and either in black or white . In this tutorial, we use the Touch Board Pro Kit and make use of the Proto Shield to demonstrate an of the .
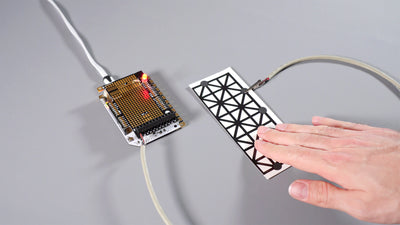
This tutorial can also be adapted for the Interactive Wall Kit and create amazing interactive installations, where the user interacts with the smart wall and plays with the .
We love it when you share your projects! Post your project on Instagram, YouTube, or Twitter, and make sure to tag @bareconductive or use #bareconductive. You can also send your videos and photos to info@bareconductive.com so we can post them on our site for the world to see.
Step 1 Assemble the NeoPixel strip
Adafruit’s Neopixel come in various sizes with a different amount of LEDs. Because they draw so much current, you need an external 5V to power the . Don’t use a power source that provides more, if you use a with a higher , it will destroy the . The amount of current you need depends on how many LEDs you use. Each LED or draws 20mA, so if you use 10 LEDs, you need at least 0.2A and if you’re using 100 LEDs, you need a power source with 2A.
There are many power sources available. We’re using a power source of 5V and 2A with a 2.1mm tip , and use a 2.1mm jack to screw terminal block to connect the power cables of the to the . Also use a large capacitor of 1000 µF, 6.3V or higher between ground and 5V of the , connecting the anode to the ground of the power . Don’t connect the to power just yet.
The Neopixel comes with a 2 or 3 pin JST SM . To easily connect to the , we use JST SM receptacle cable.
Step 2 Connect everything together
In order to connect the Touch Board to the NeoPixel , follow this wiring diagram. You can either connect the and the Touch Board together via a breadboard or via the Proto Shield. You can leave the 5V connection that is part of the JST connection disconnected. In this example, we have just soldered it to a pin on the Proto Shield, where we can access it later if we need to.
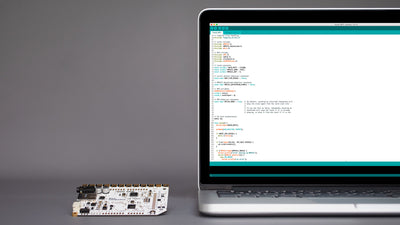
Step 3 Upload the code on the Touch Board
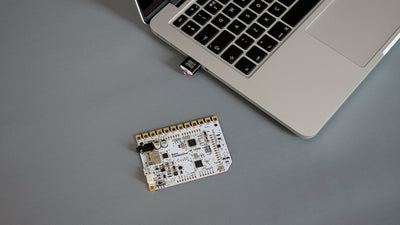
If you haven’t set up your Touch Board, then check out the setup tutorial.
You can download our example code. This code will turn the on when you touch electrode 0.
Open it and find the variable NUMPIXELS. Change it to the number of pixels that you are using, in this example, we’re using 10. Install the Adafruit Neopixel library via
Sketch→Include Library→Manage Libraries…
Search for “neopixel” and click install. Once installed, upload the code to the Touch Board, making sure that you have selected the right settings for the Touch Board.
Step 4 Connect to power
Connect the power to power and press electrode 0 of the Touch Board and watch the up!
In the code we opted for a , but you can change the by playing around with the numbers inside setPixelColor.
Step 5 Next steps
Changing the code of the Touch Board also allows you to create a proximity switch for the , where you can the lights by approaching the . Adafruit’s Neopixel library allows you to easily change the of each individual , the of each or which LED is up.
You can easily make the by applying -friendly to it.
You can also use multiple , you just need to add enough power sources.
We’d love to see your creations and what you create with the Touch Board, so feel free to send us images or videos at info@bareconductive.com or via Instagram or Twitter.
Also, if you have any troubles, have a look at our Troubleshooting Guide, our FAQs or contact us at info@bareconductive.com.