Touch Board Pro Kit:
Get Started
Welcome to the Touch Board
The Touch Board is a unique microcontroller and in this tutorial we're going to show you how to get started with the Touch Board. Right out of the box you can get started with the Touch Board, in just three easy steps!
1. Add speakers or headphones
Plug your speaker (or headphones) into the audio jack on the top left-hand corner of your board.
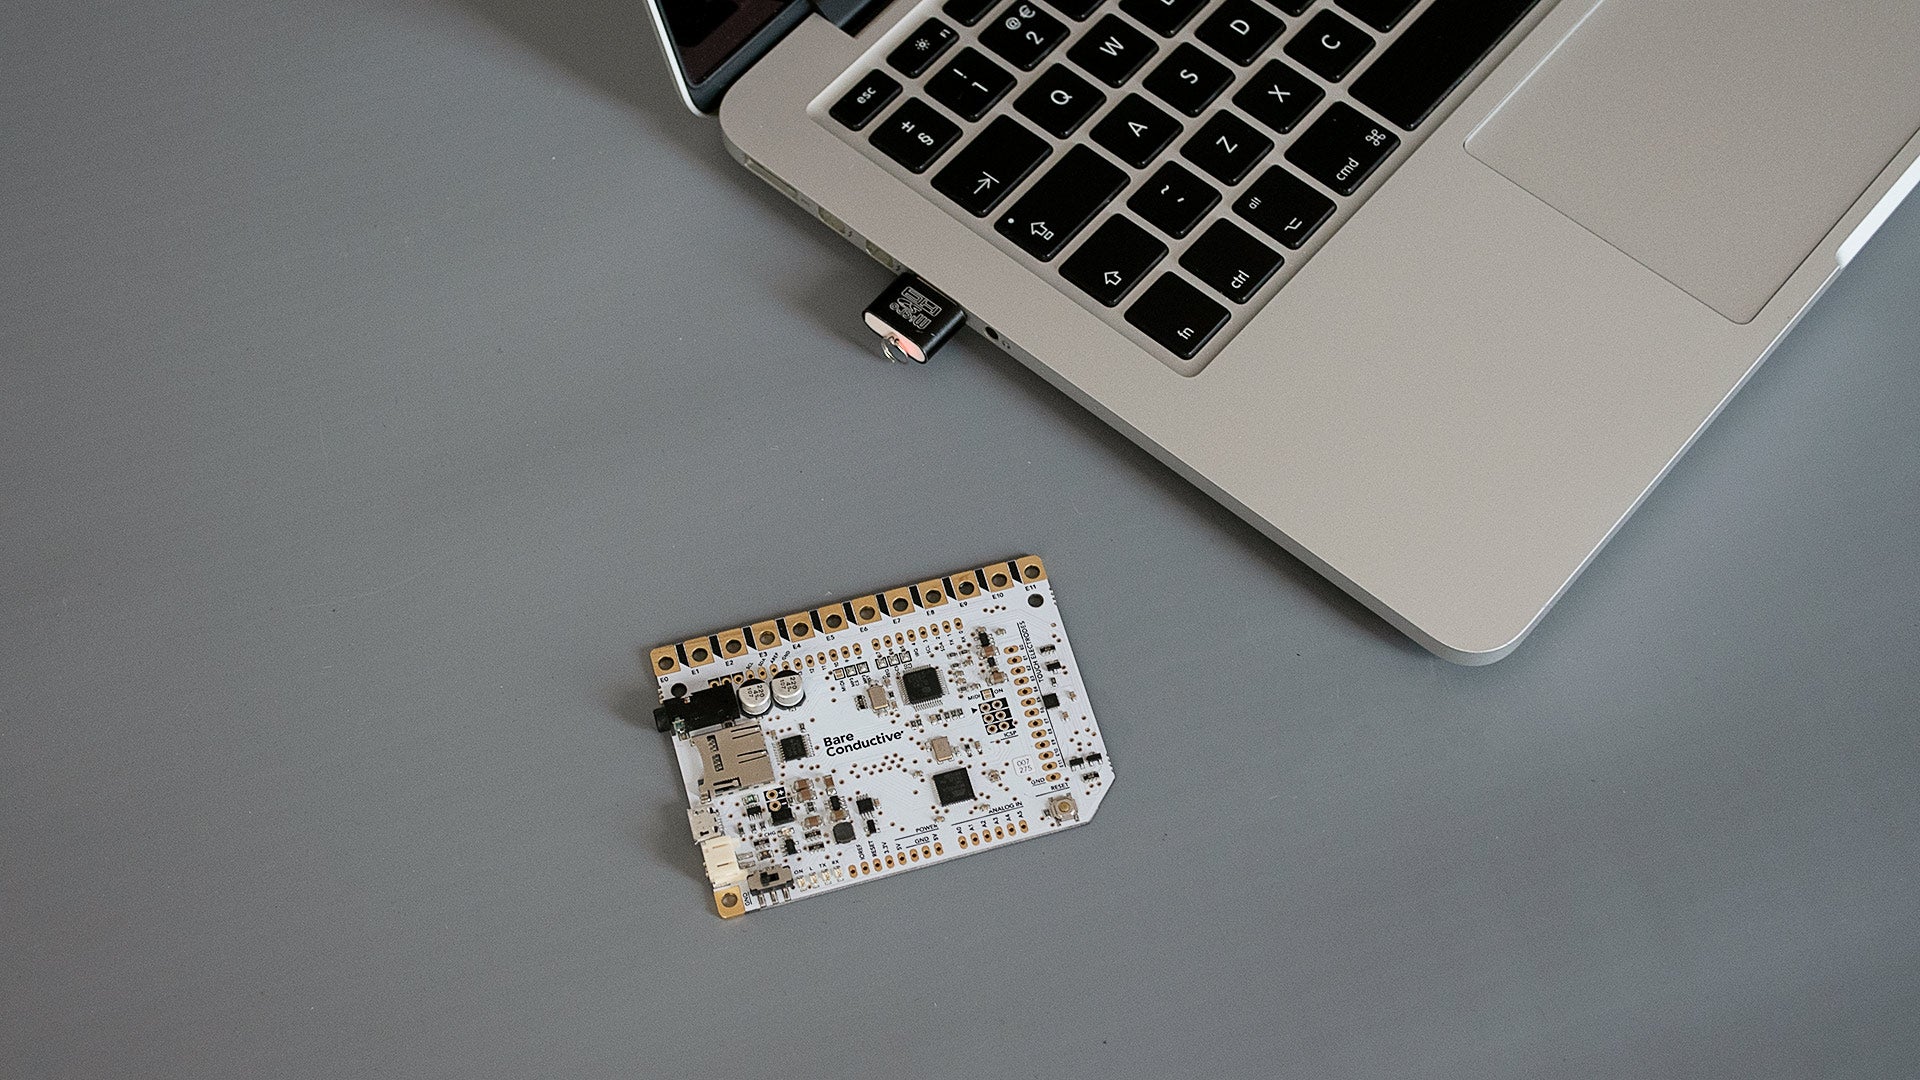
2. Provide power
In order to power the Touch Board, plug your micro USB cable into the Touch Board. You can power it directly from your computer or a USB power source. Ensure the on/off switch at the bottom left-hand corner of your Touch Board is switched to ON. You should see the green LED next to the on/off switch come on. This means your Touch Board is live!
3. Touch the electrodes
Now, touch the electrode on the upper left-hand corner of your board. If everything is working, you should hear the first of twelve audio tracks that we pre-loaded to help you get started!
The electrodes are the twelve golden squares that run along the top edge of your Touch Board. They are numbered E0 to E11.
Listen to the audio guide to find out more about the Touch Board and its different features. Once you've explored the audio guide, you're ready to upload your own selection of sounds or change the code of the board!


Set up the Proto Shield
The Touch Board Pro Kit contains the Proto Shield, which allows you to extend the Touch Board’s features. Find out how to set it up here.
Touch Board Techniques
Change The Tracks
If you just want to change the tracks that are being played when touching an electrode, you don't need to reprogram the Touch Board! Find out more here.
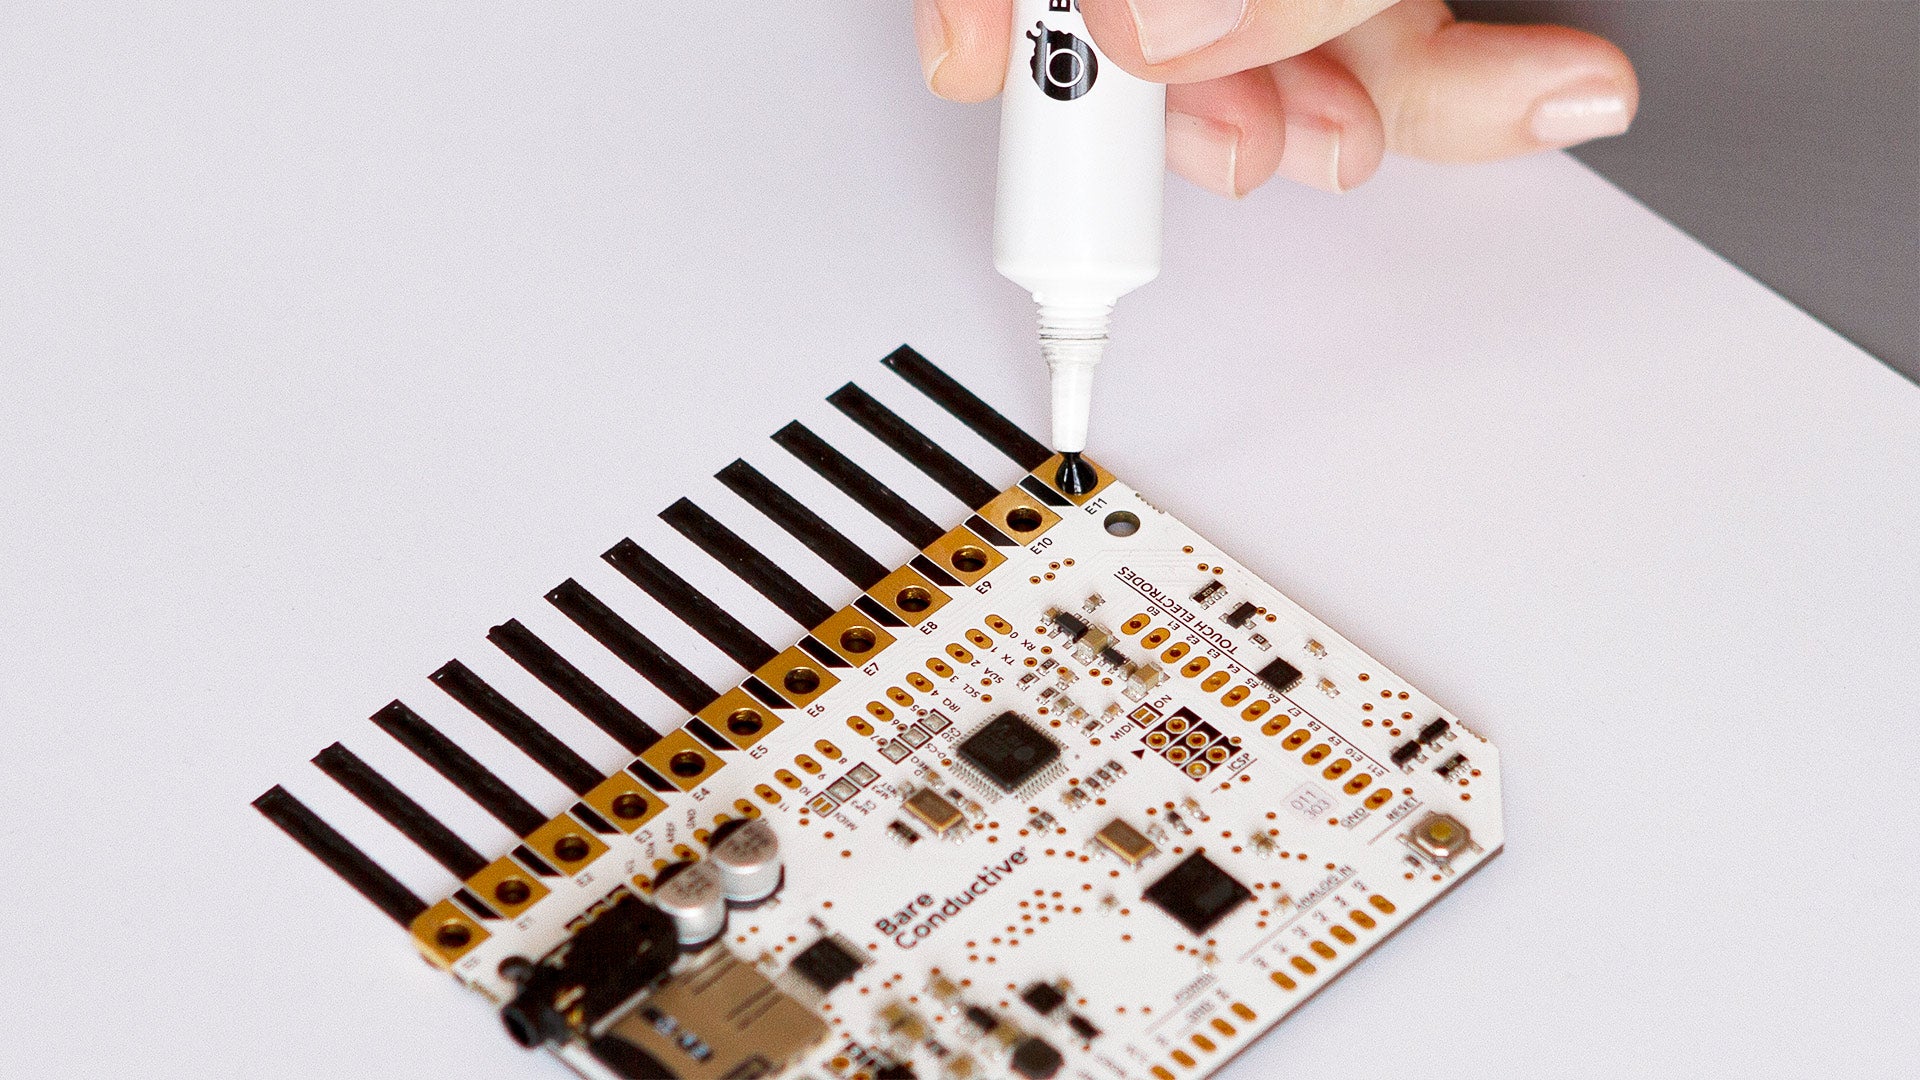
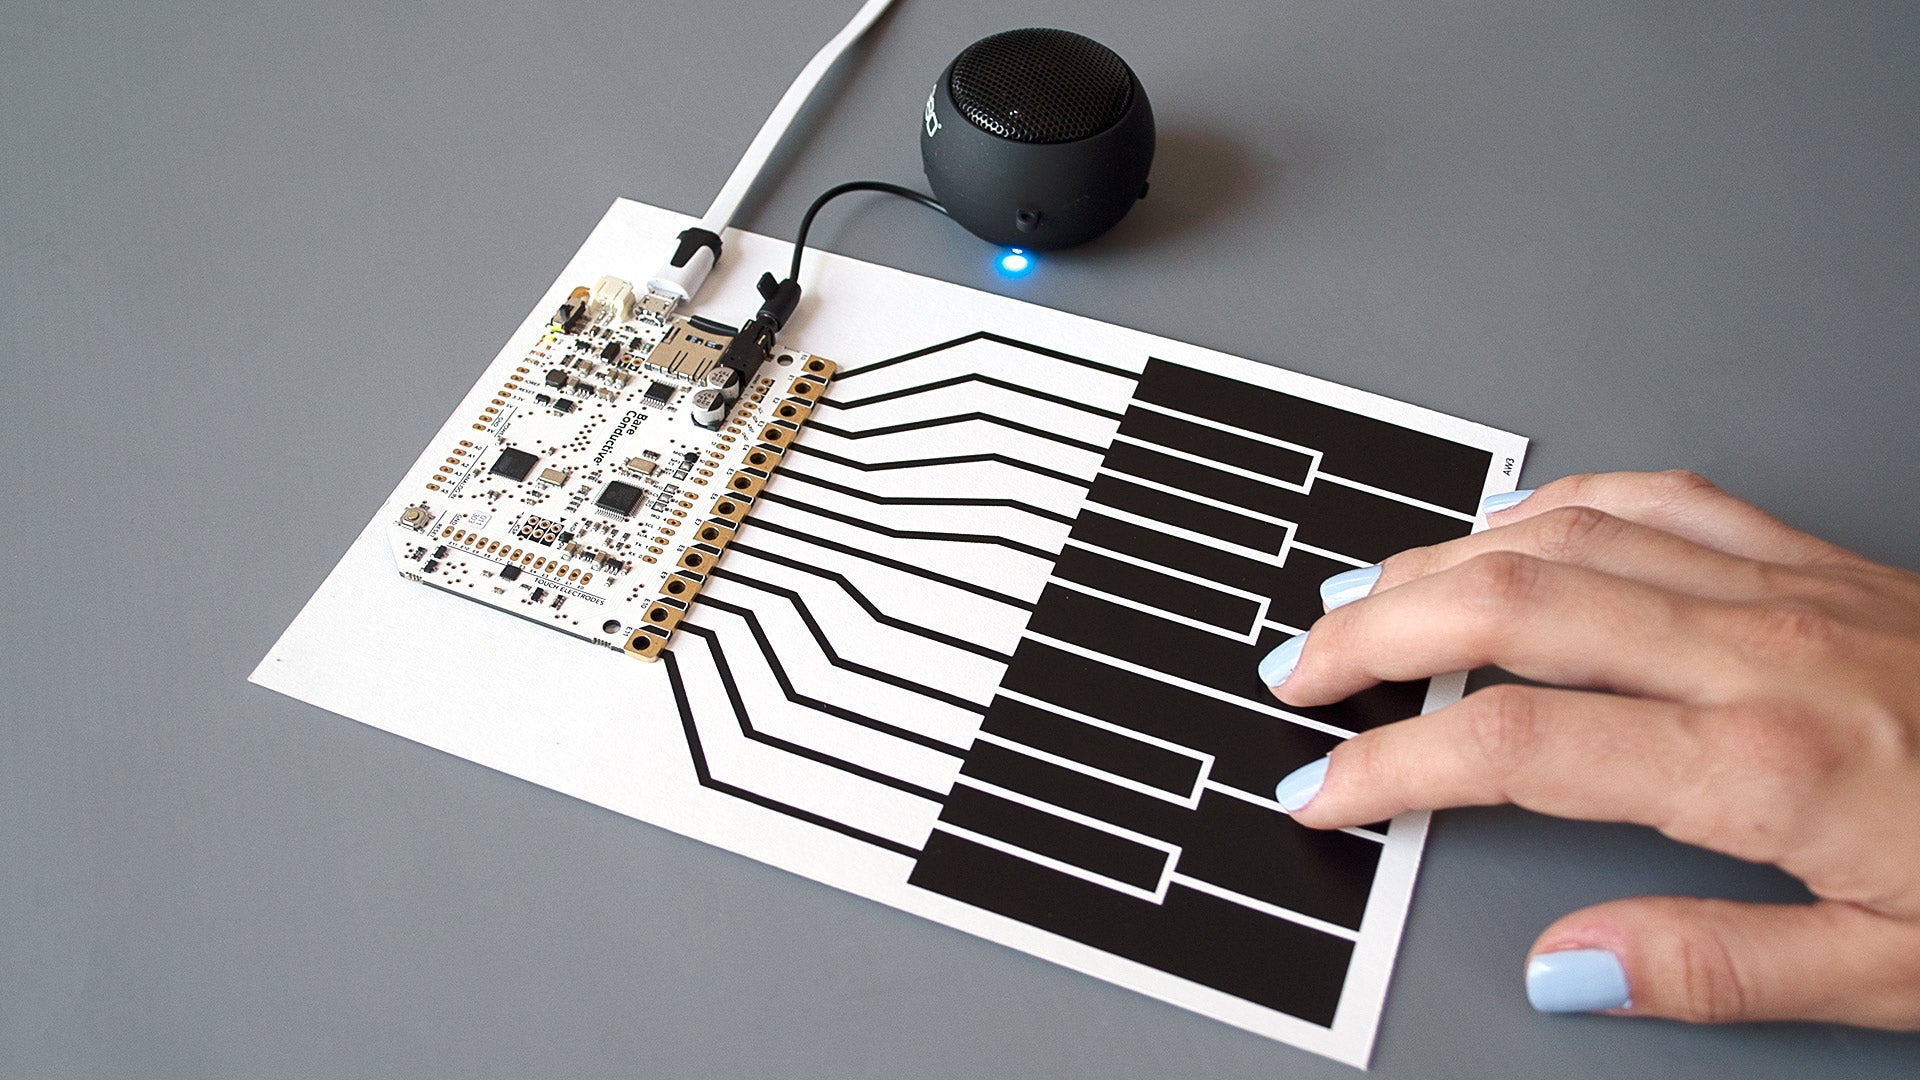
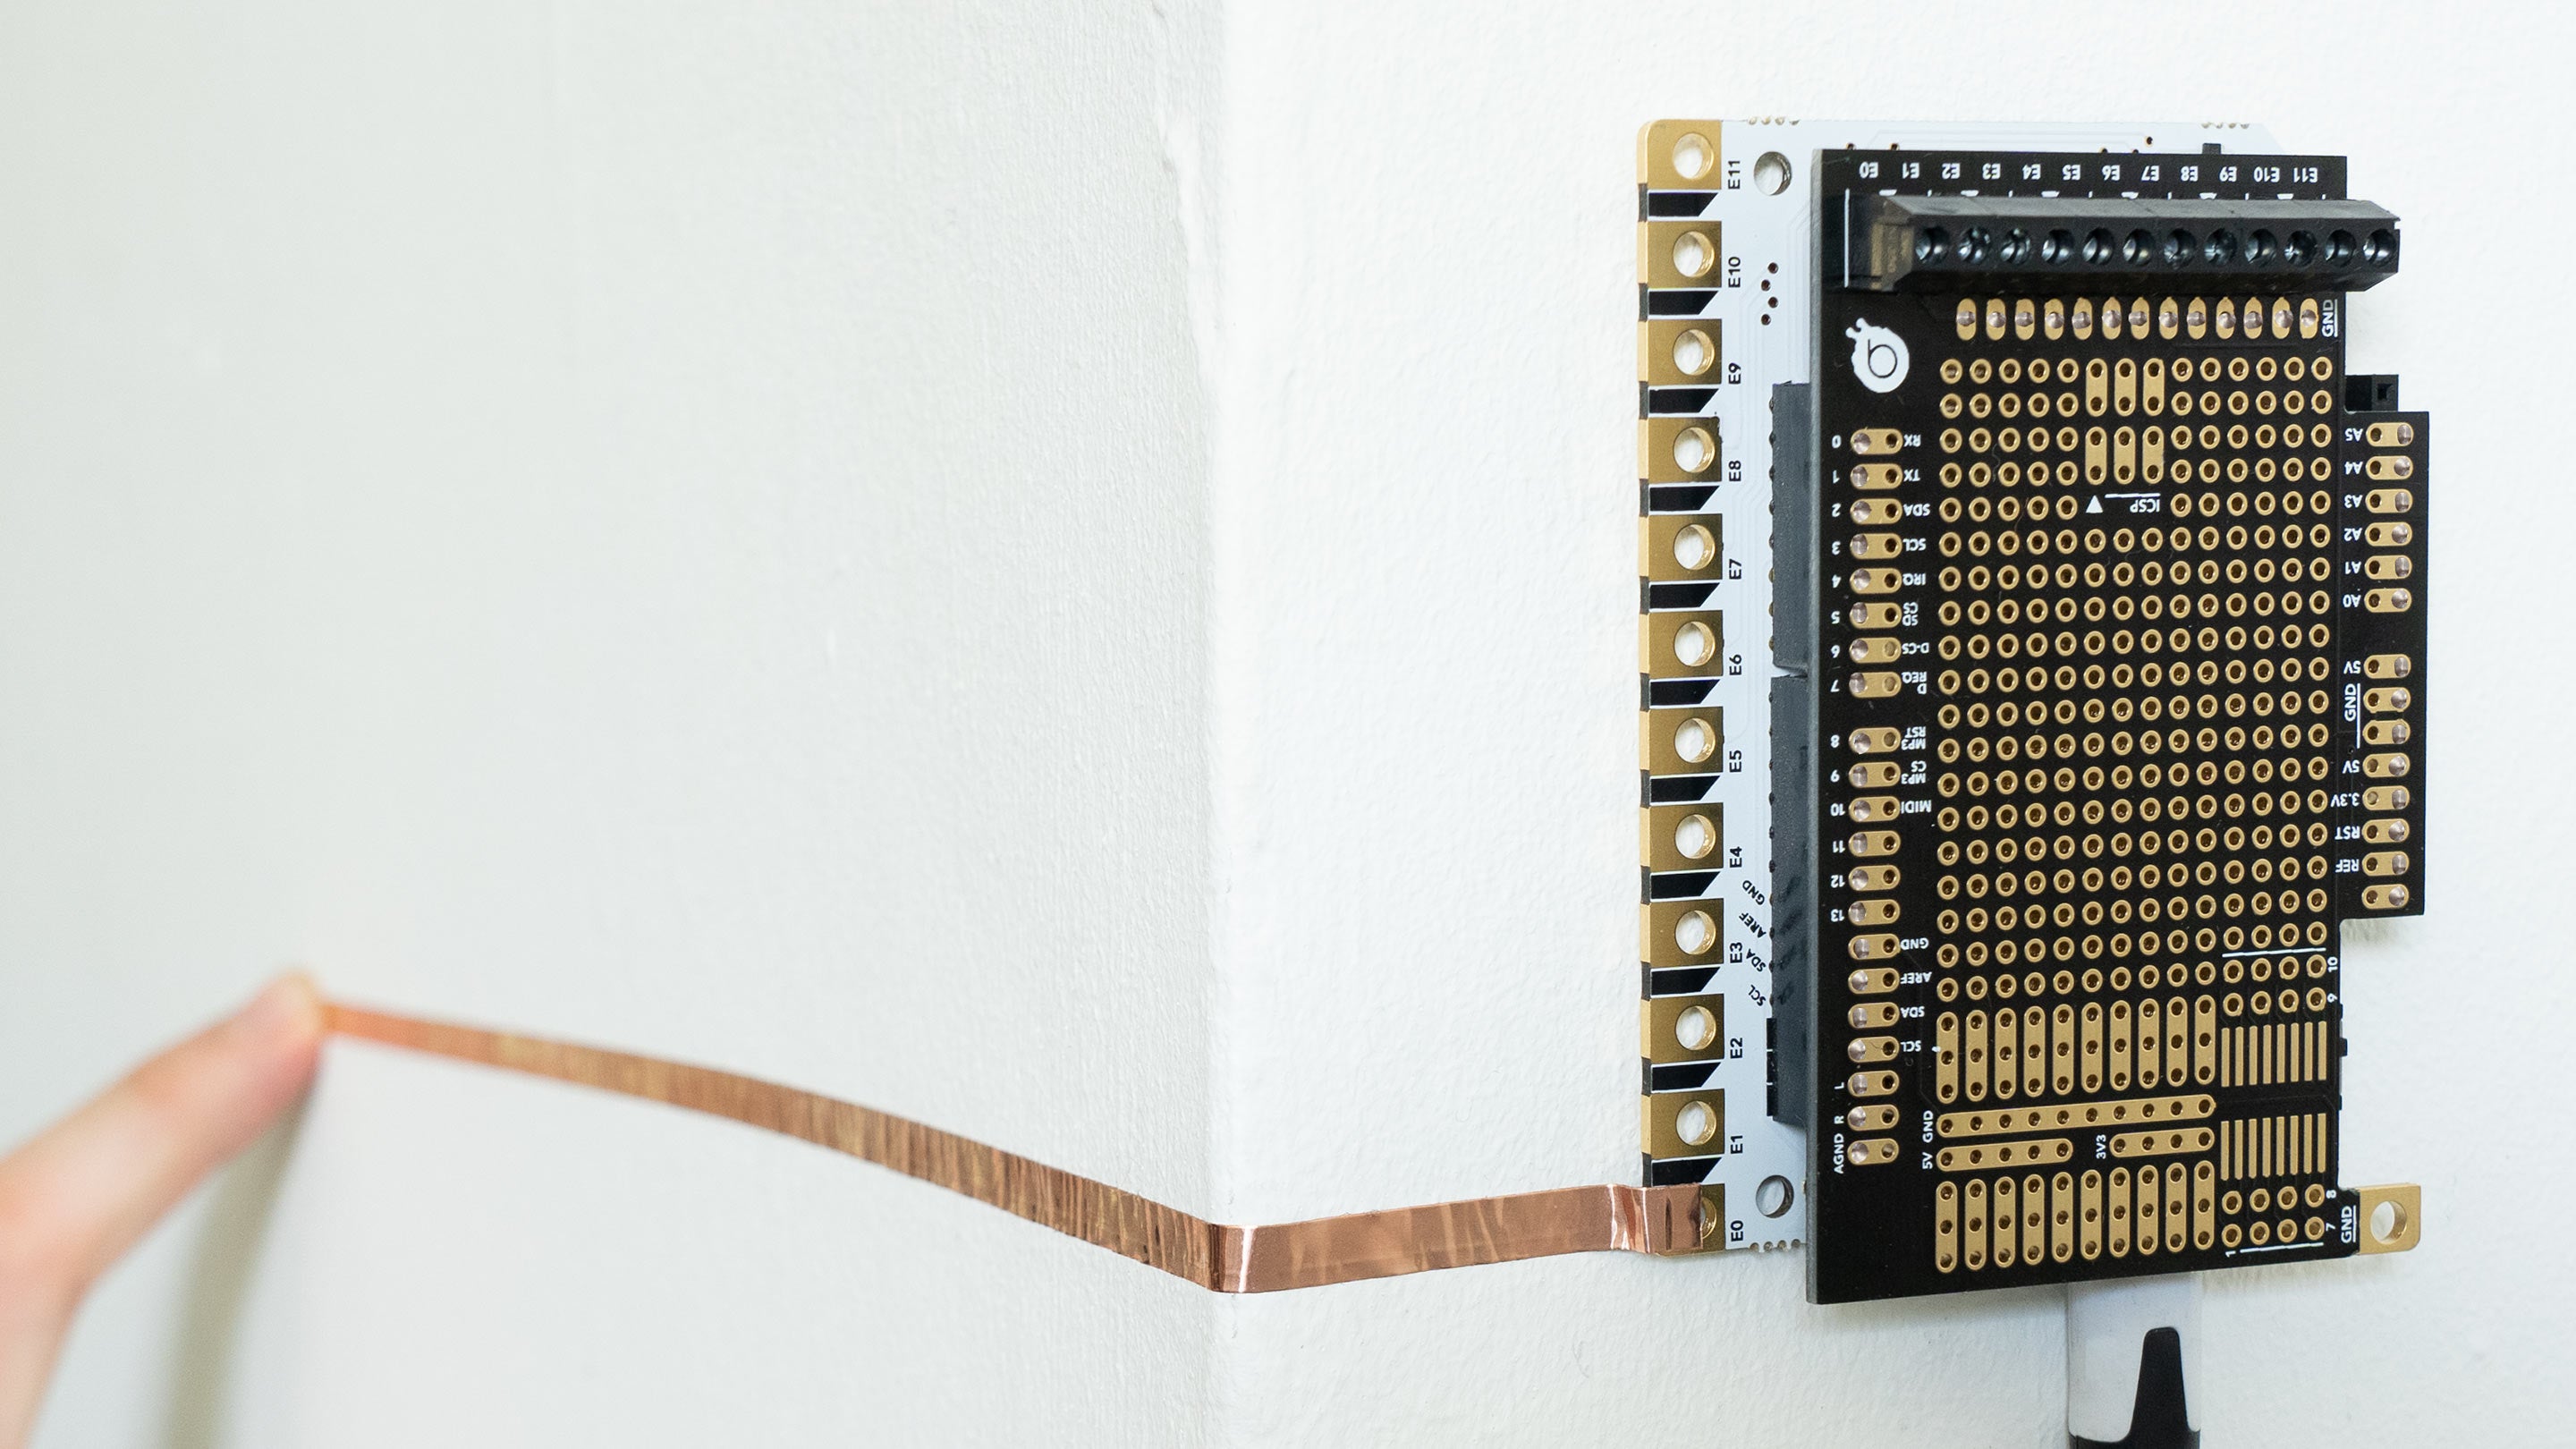
Extend The Electrodes
You can extend the electrodes with any conductive material, including Electric Paint! Find out more here.
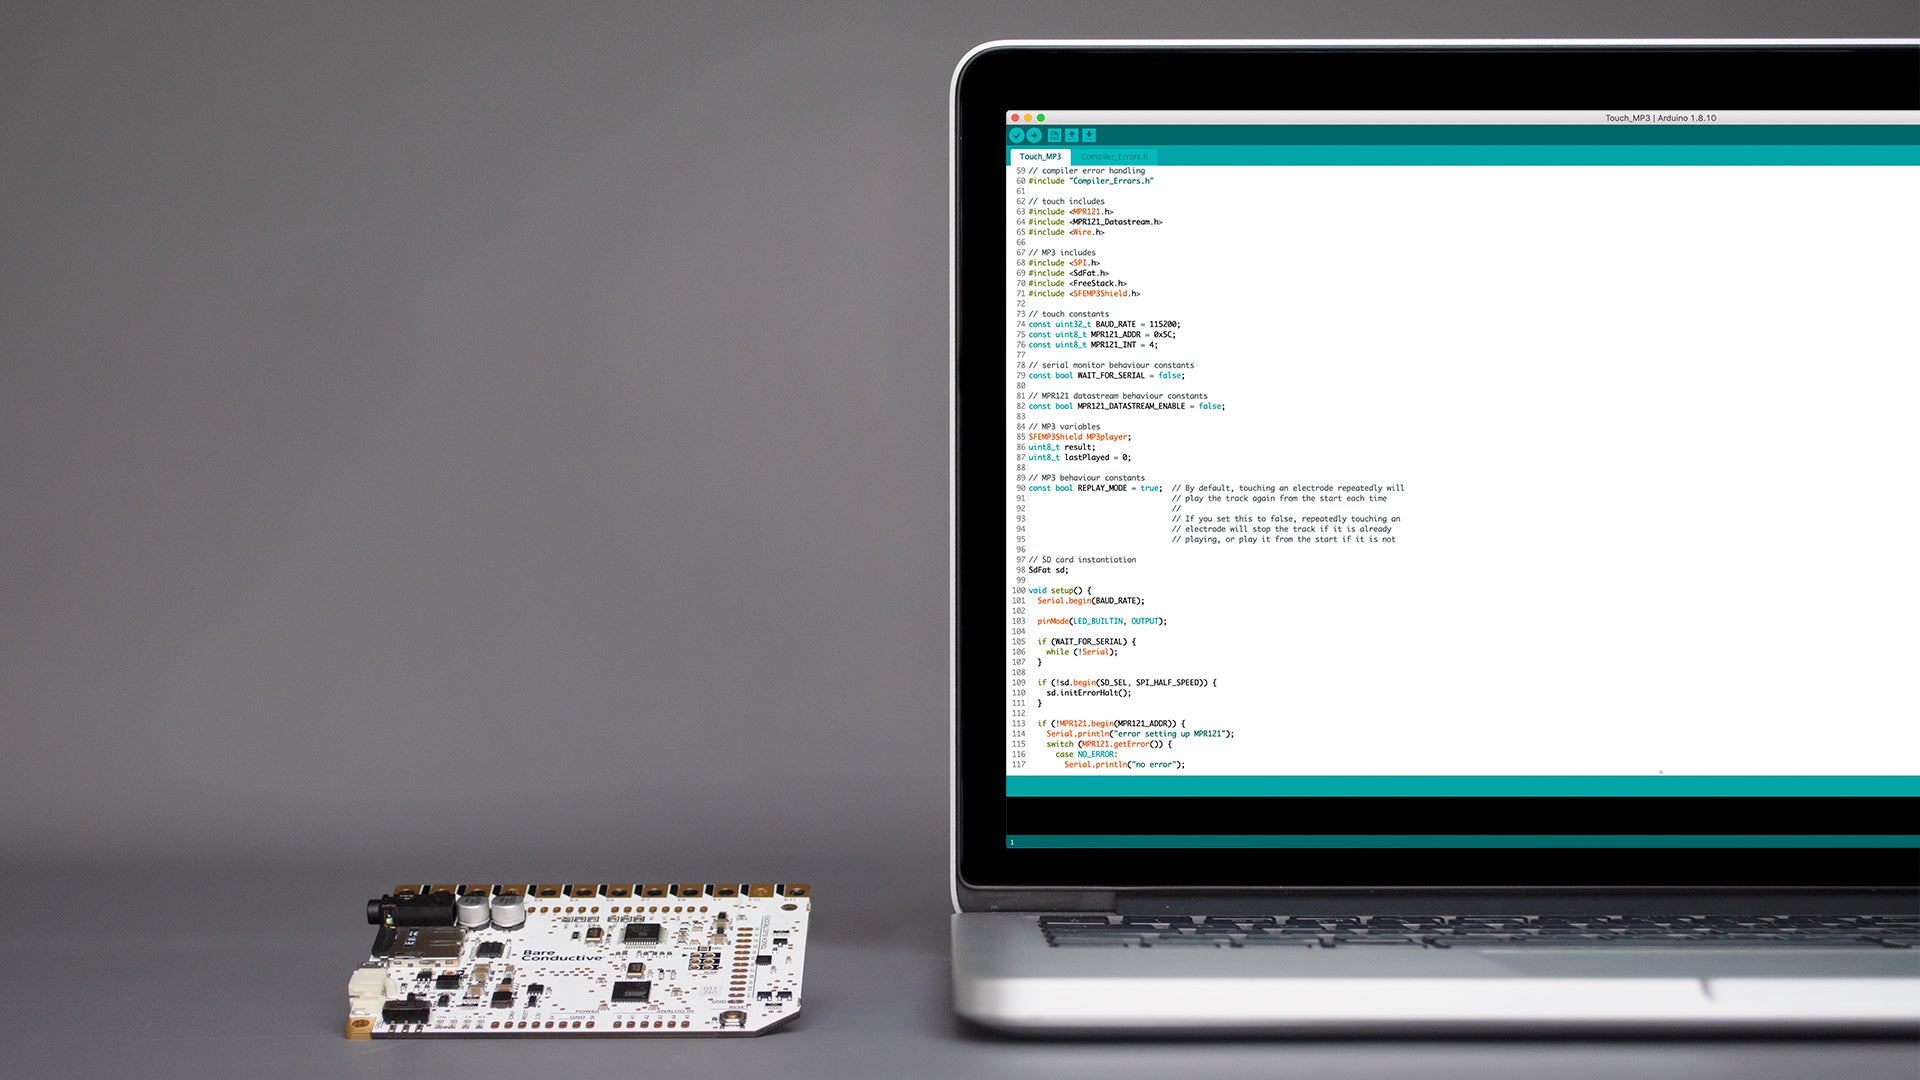
Change The Code
We provide lots of sample code for the Touch Board and you can reprogram the Touch Board with the Arduino IDE. Find out more here.
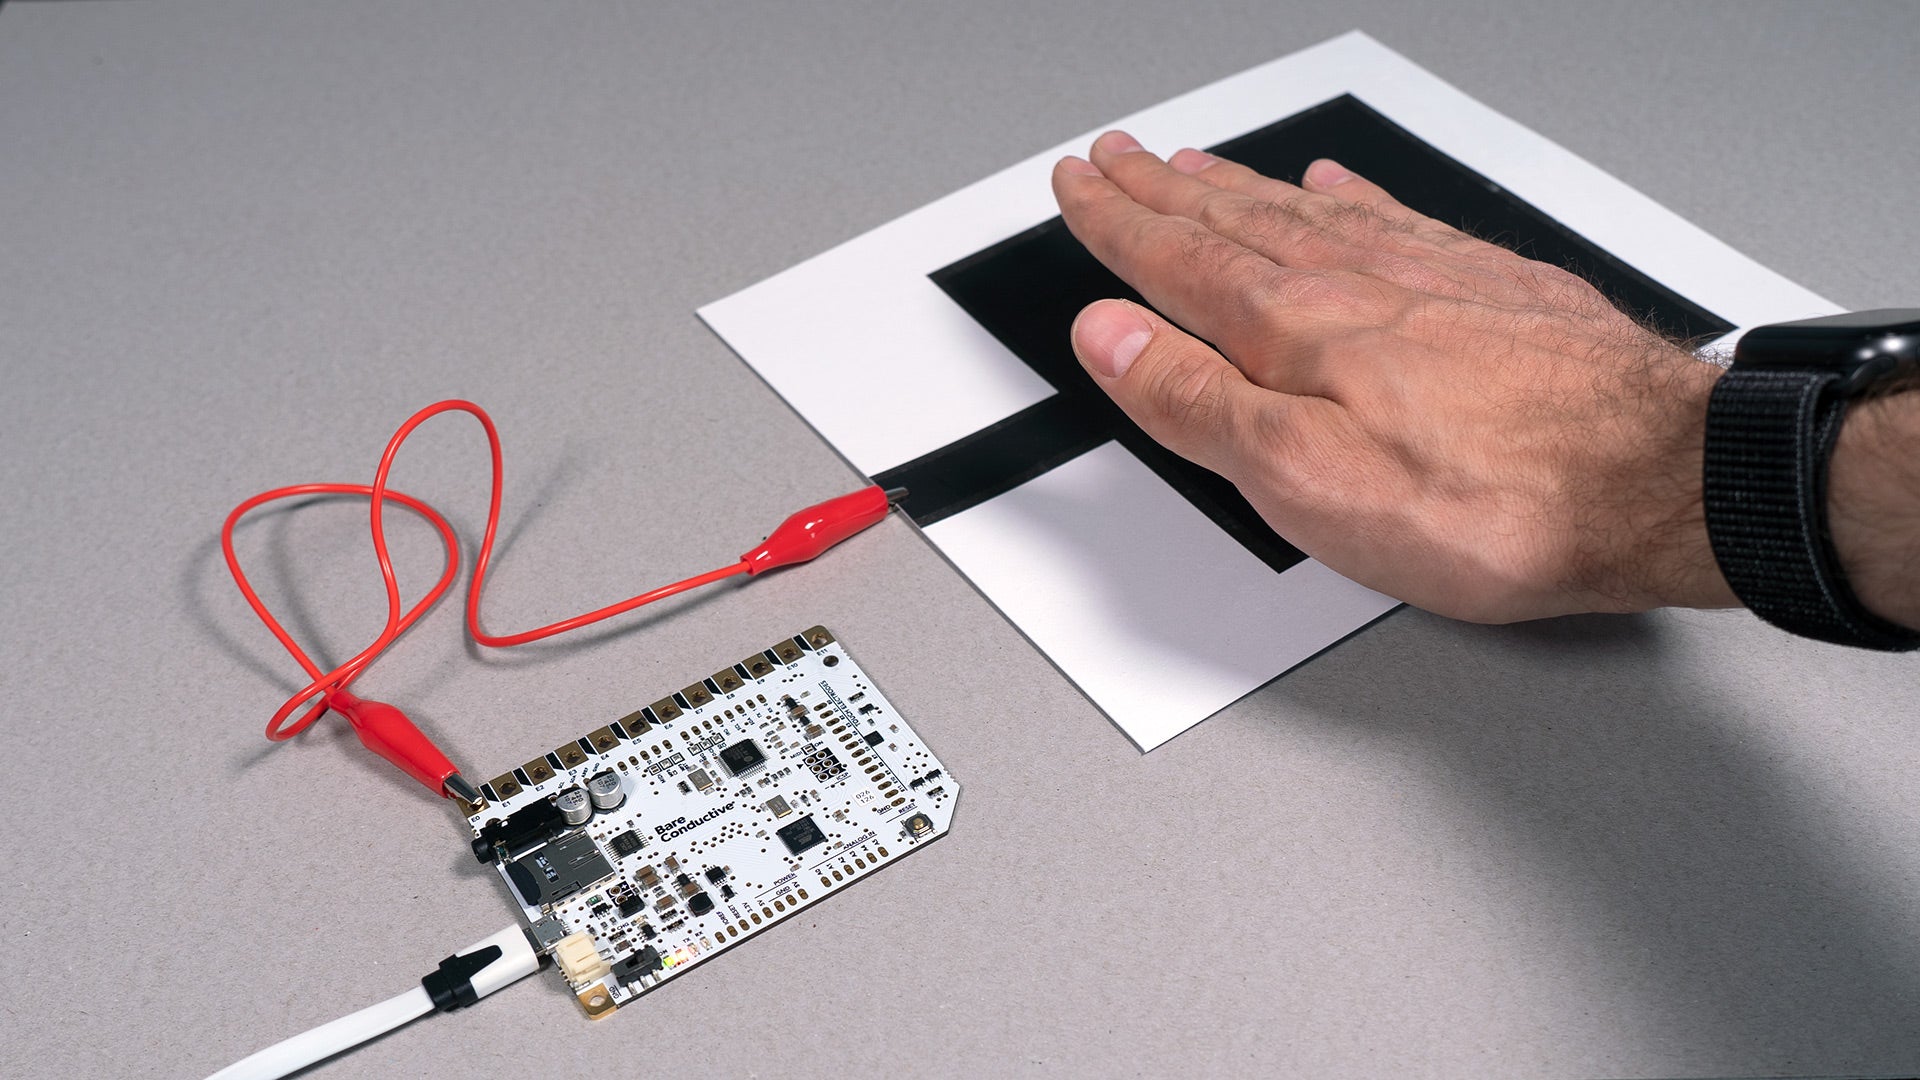
Create Proximity Sensors
The Touch Board's capacitive electrodes can be configured to be either touch or proximity/touchless sensors. Find out more here.
Use As A MIDI Instrument
The Touch Board also has an on-board MIDI synthesiser, so instead of playing MP3 tracks, you can simulate a MIDI instrument. Find out more here.
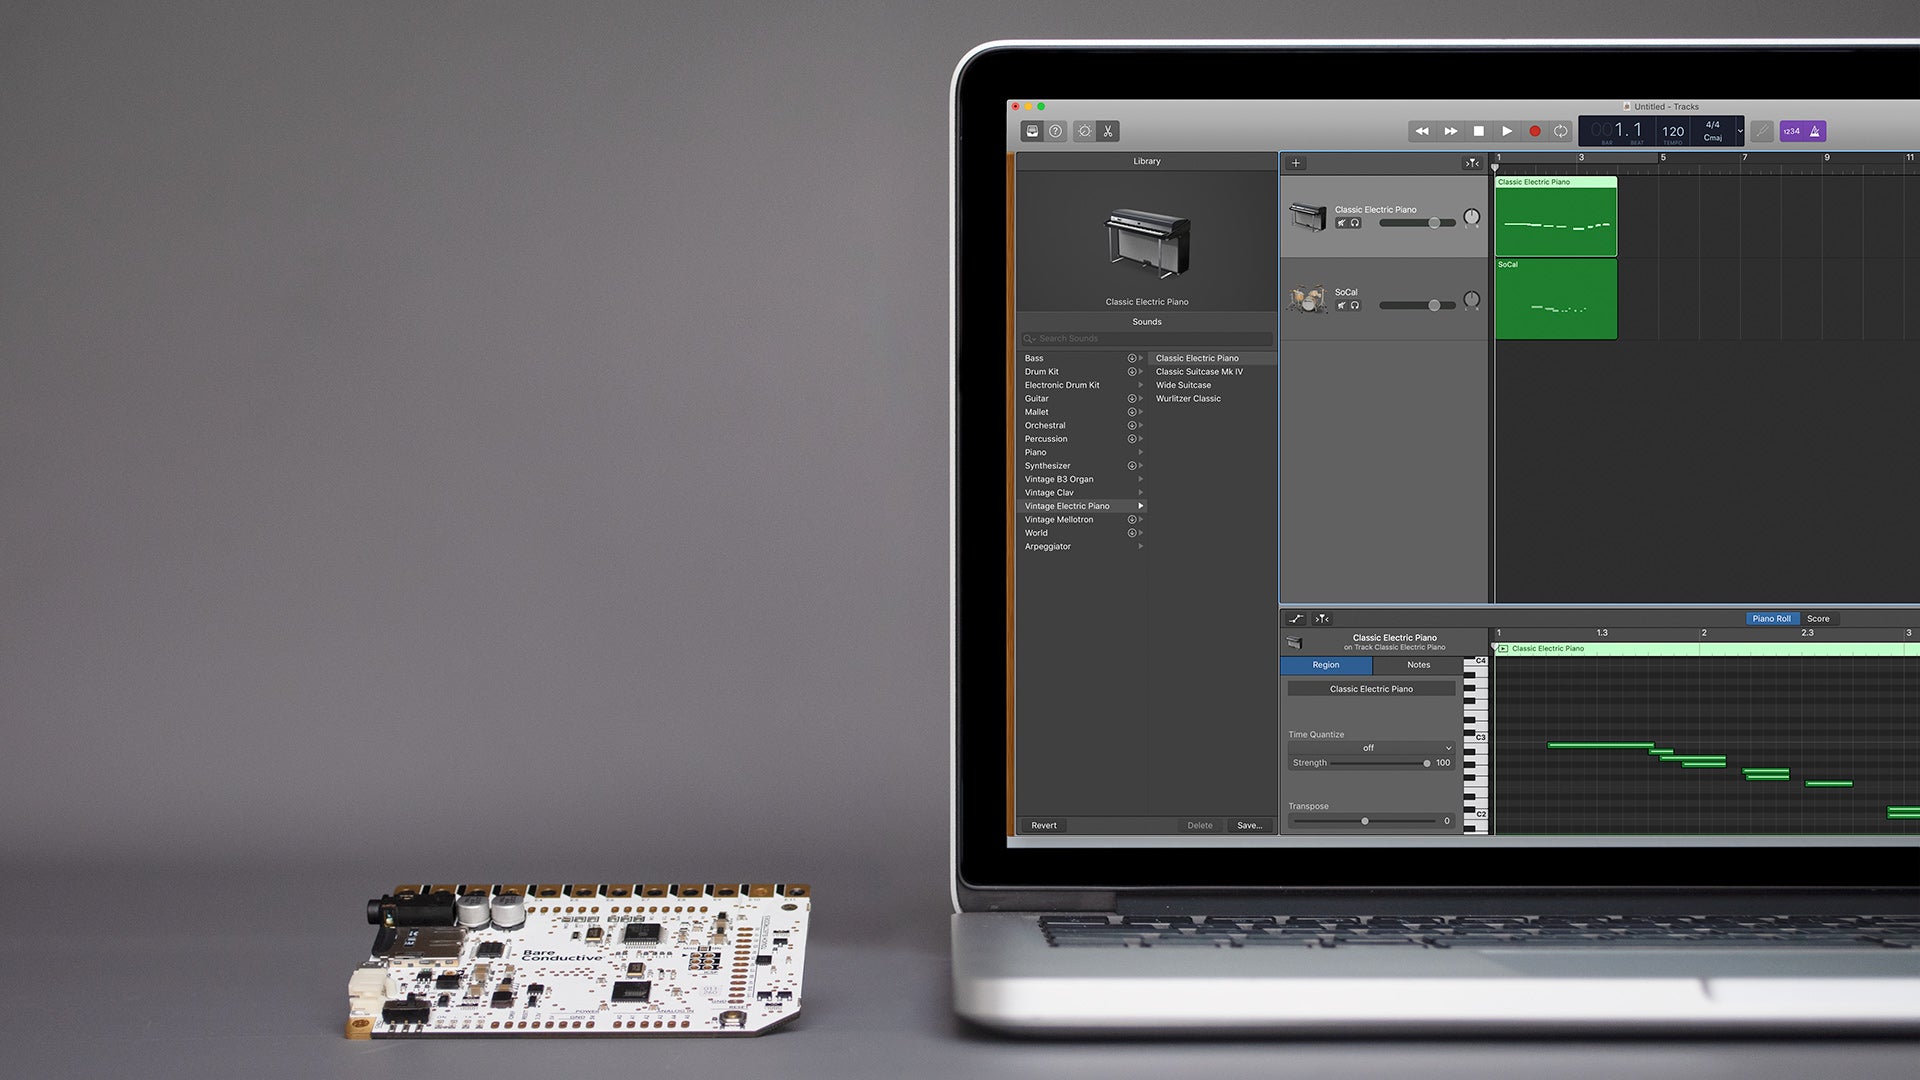
Set Up As MIDI Interface
You can also use the Touch Board to send MIDI signals to a software and use the sensors as an interface. Find out more here.
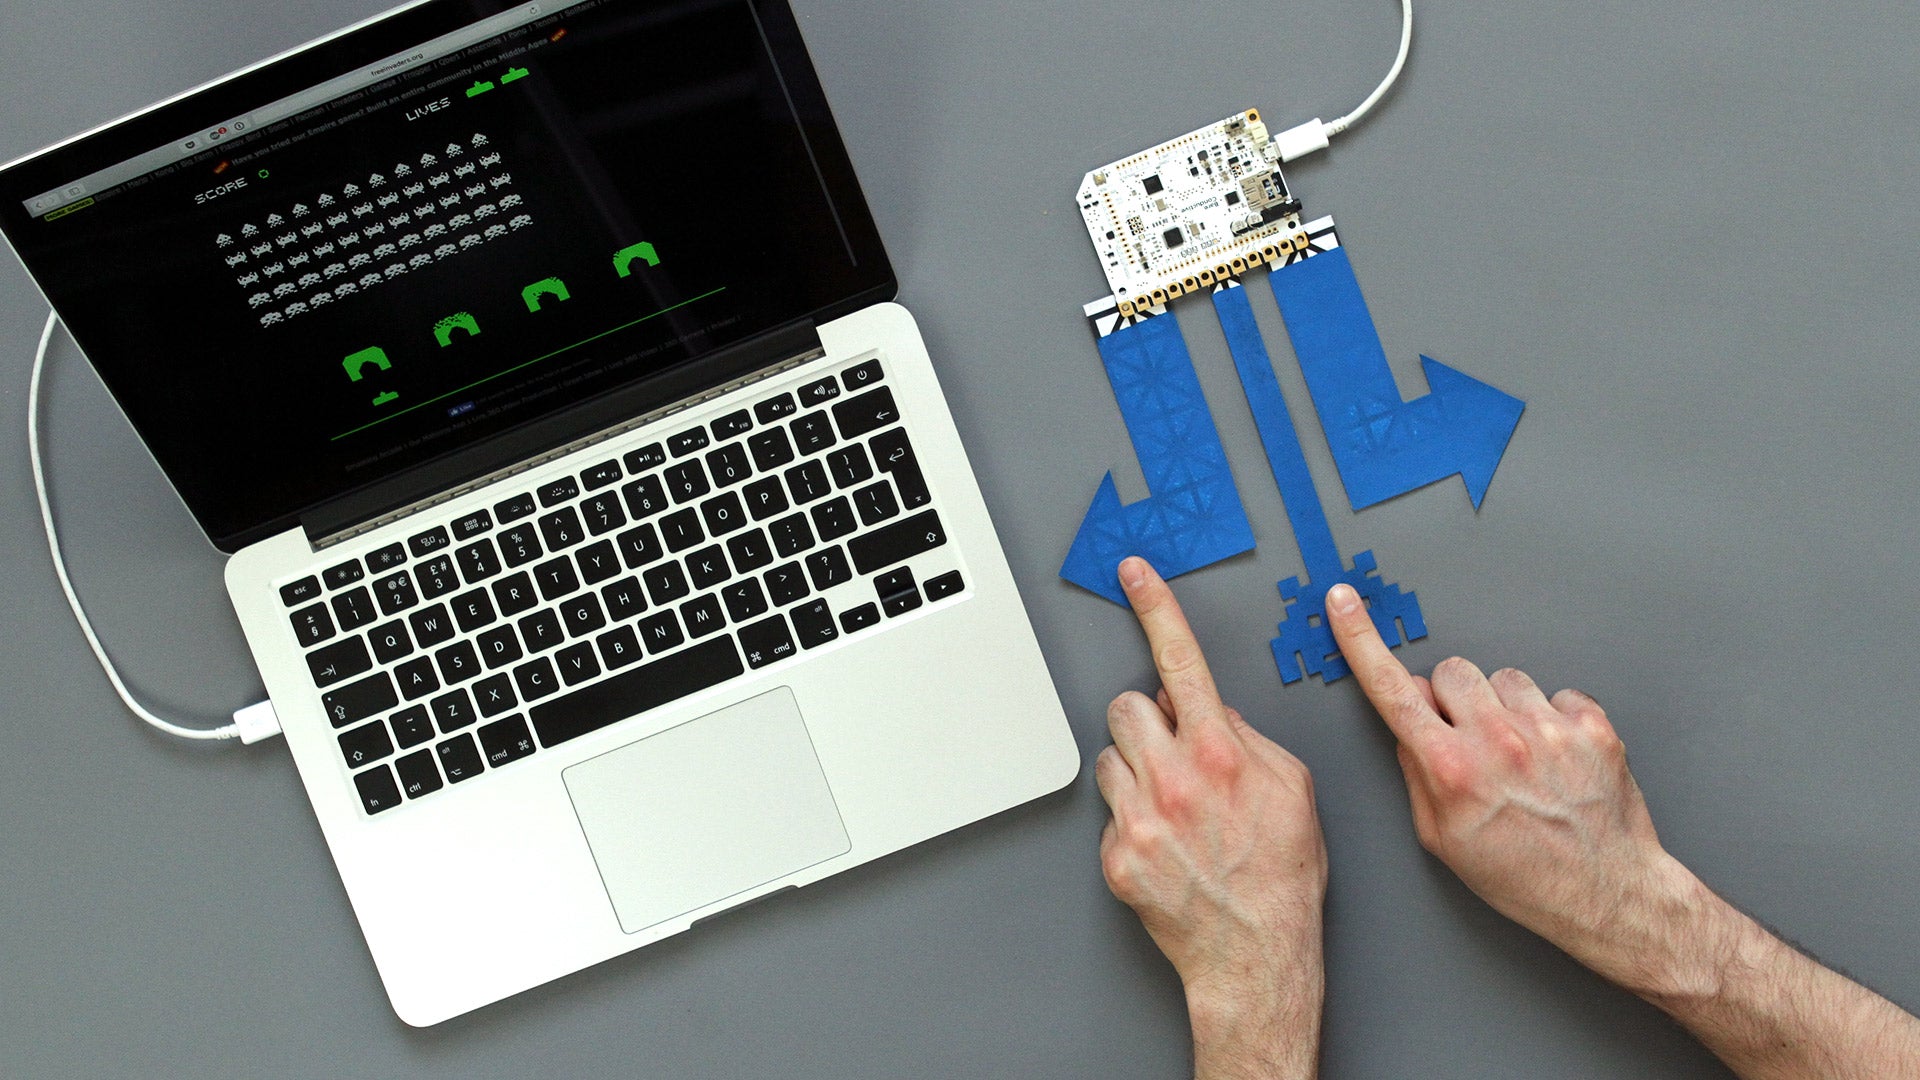
Use As A Keyboard
You can also simulate keyboard strokes with the Touch Board and use this feature to create game controllers or interfaces for other software. Find out more here.
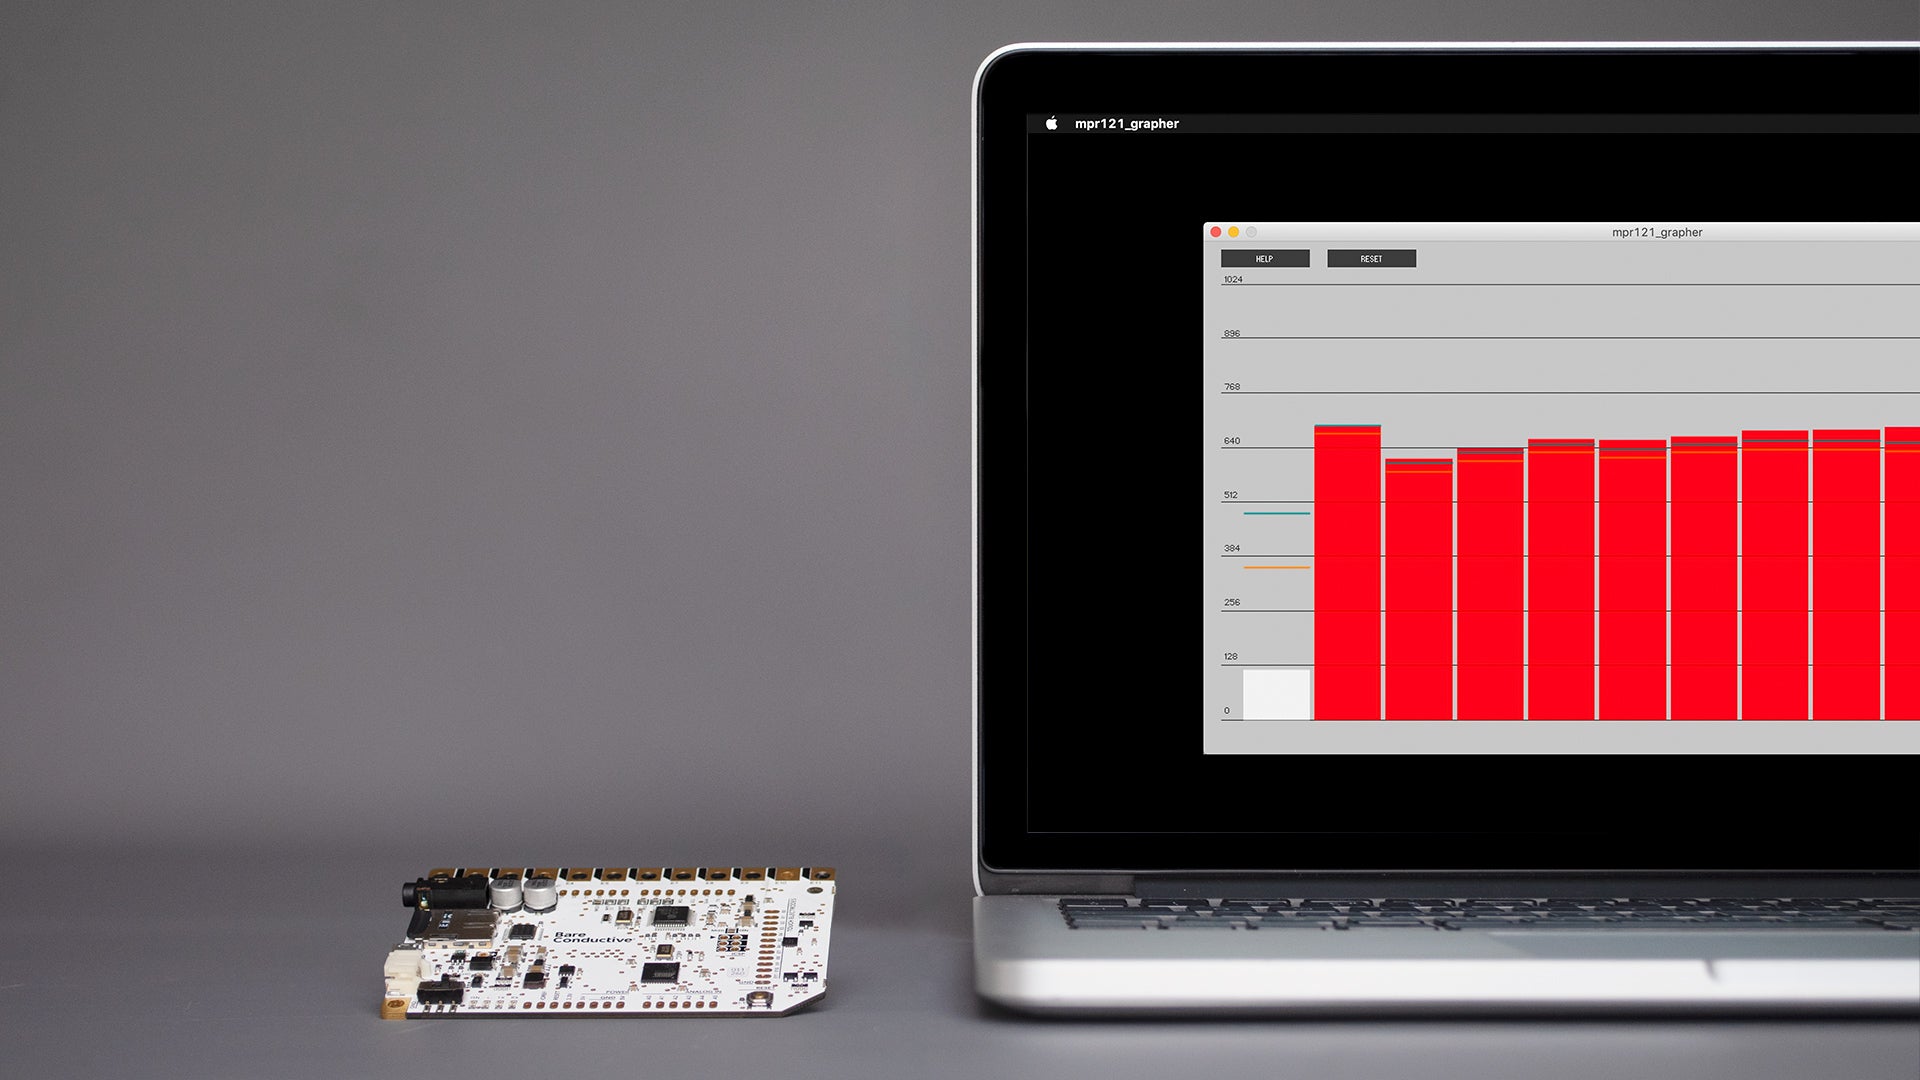
Visualise The Sensors
Sometimes it helps to visualise the sensors when you need to troubleshoot the Touch Board. Find out more here.
Electric Paint Techniques
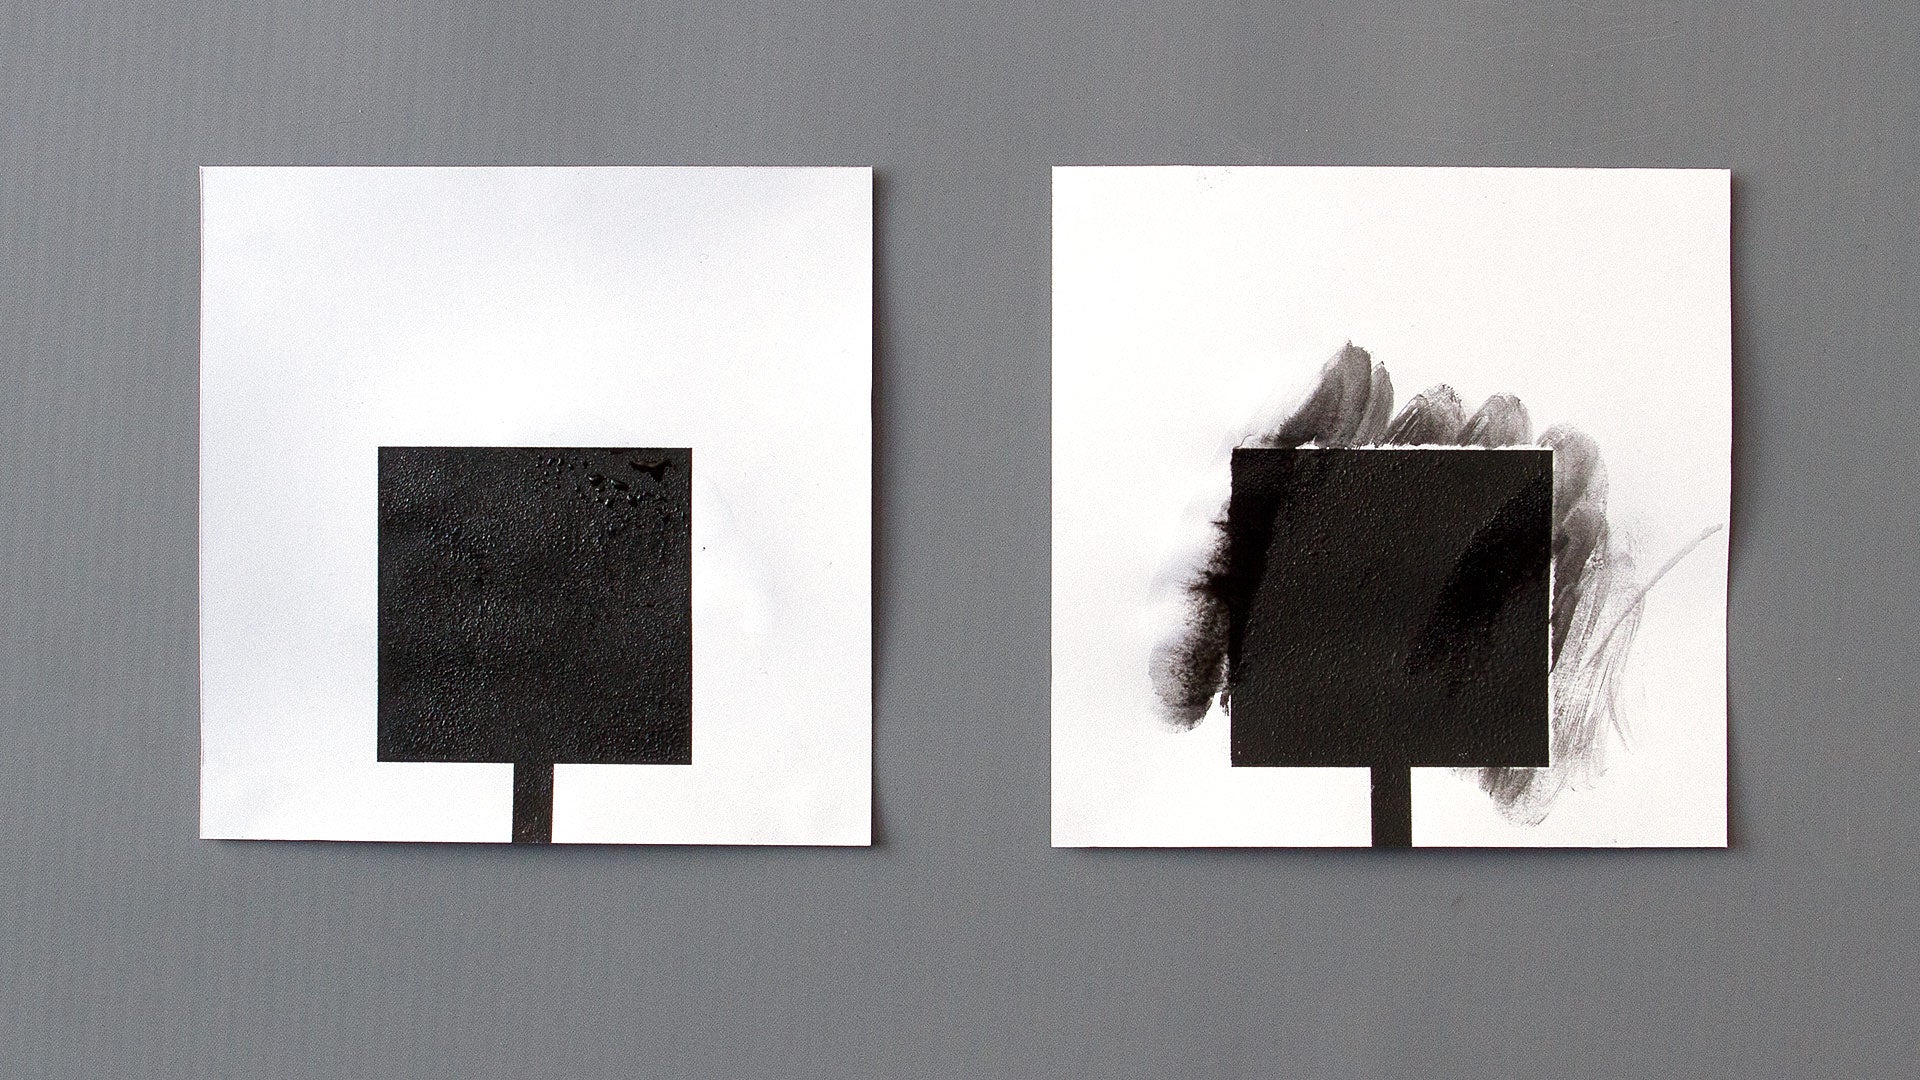
Seal Electric Paint
In order to prevent Electric Paint from smudging or cracking, we recommend sealing the paint. Find out more here.

Dilute Electric Paint
If the paint gets too viscous or dry, you can simply dilute it with water. Find out more here.

Stencil Electric Paint
Stencilling Electric Paint is a great way to create detailed and fine graphics with the paint. Find out more here.

Screen print Electric Paint
Screen printing is similar to stenciling, but is even more efficient. Find out more here.

What Is Capacitive Sensing
Our Touch Board, Pi Cap, and Light Up Board leverage clever physics to make any surface interactive. Read more about it here.
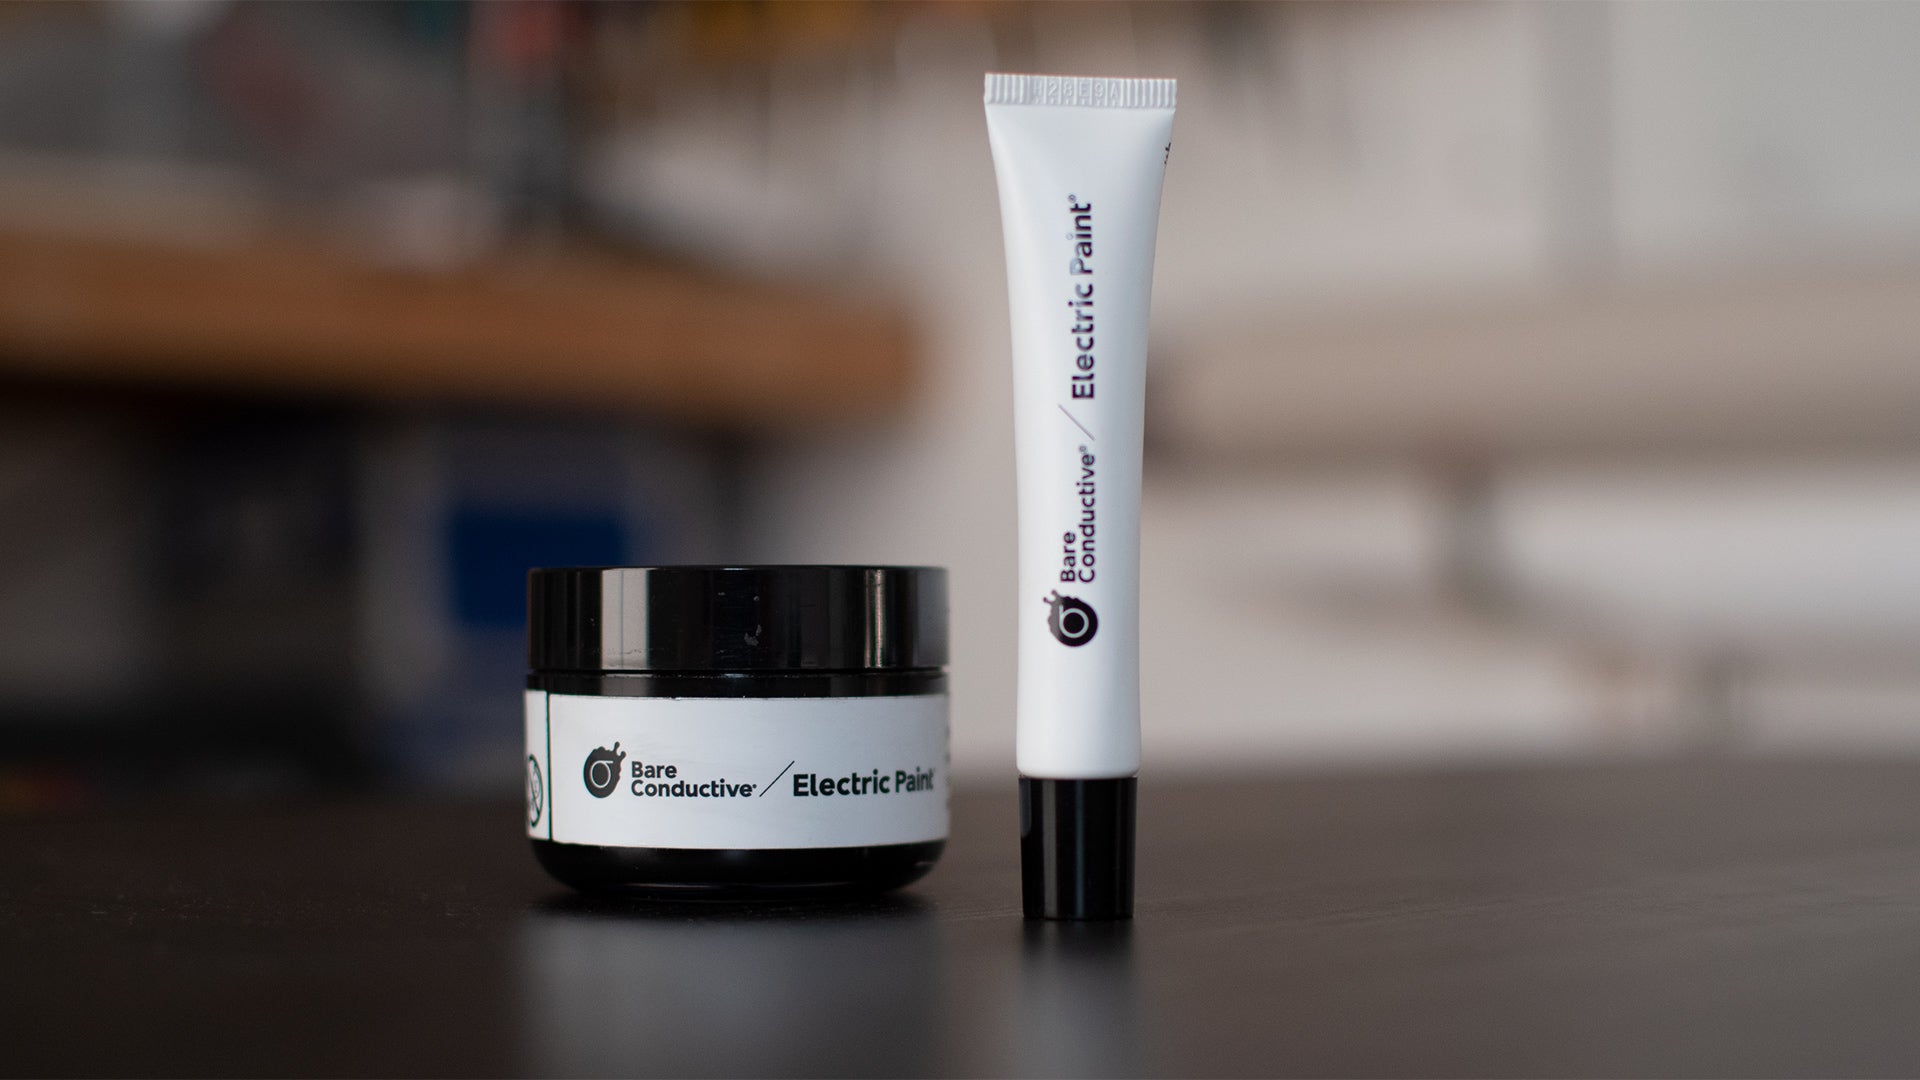
What Is Electric Paint
Conductive inks and paints are used in countless contemporary products thanks to their unique properties. Read more about it here.
Technical Resources
You can find all the resources for the Touch Board and Electric Paint in Product Resources page.
Product Resources

