How To Assemble The Touch Board Proto Shield

Build more functionality into your Touch Board project with this flexible shield
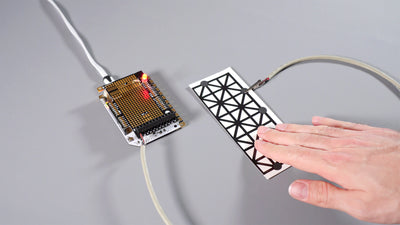
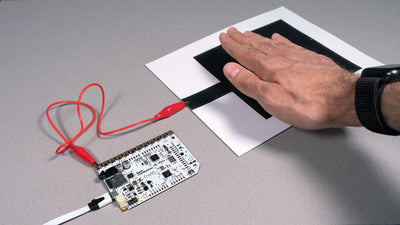
We developed the Touch Board Proto Shield to provide an easy and robust way to add functions to your Touch Board. The Touch Board Proto Shield makes it easy to connect to your Electric Paint sensors, no matter what your project format.
The Touch Board Proto Shield features screw terminals for wired connections, a convenient ground plane for using shielded cable, a prototyping area, and all pins brought up to the shield for your project. These features are all explained in further detail below.
If you've never soldered headers on before don't worry. Just follow our step-by-step tutorial below to attach the sockets and headers, and start your next project!
We love it when you share your projects! Post your project on Instagram, YouTube, or Twitter, and make sure to tag @bareconductive or use #bareconductive. You can also send your videos and photos to info@bareconductive.com so we can post them on our site for the world to see.
You will need:
- 1 x Touch Board
- 1 x Touch Board Proto Shield
- Female and male pin headers
- Soldering equipment
The Proto Shield's functions
The Proto Shield is simple yet super effective, and we want to give you a quick run down on its design.
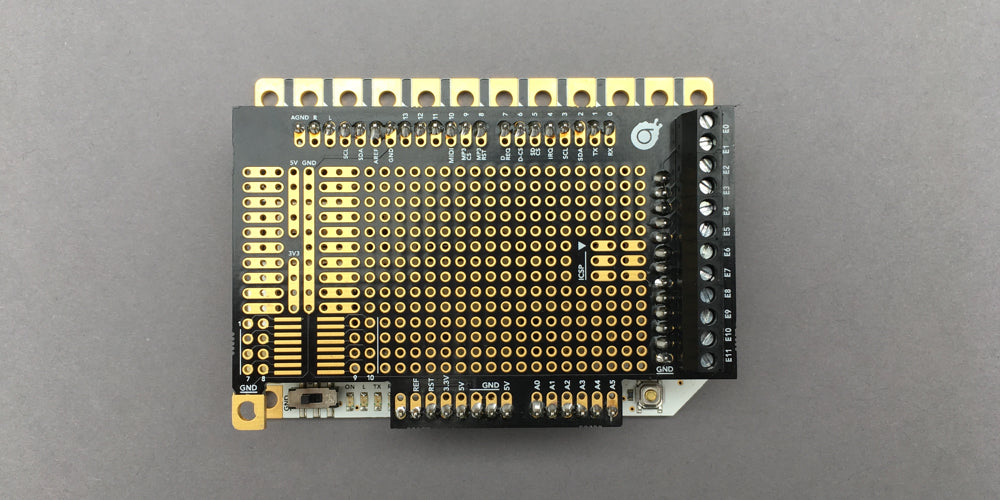
If you look at the first image on the right, you can see that the standard Arduino pins have two solder holes instead of one: one hole is for the headers and one for any additional connections. Each pin is labelled by its Touch Board function, so you can quickly get an overview of what is available.

SMD pads
In this image, you should be able to identify an area with 16 lines. You can solder any SMD onto these pads. We have added breakout pins to each pad so that you can easily connect additional components to your SMD. We've also expanded the power rails, giving you easy access to the 5V, 3.3V and GND. The GND hole from the Touch Board has been taken into the Proto Shield as well.

Screw Terminals
The image to the right shows the 12 screw terminals. The screw terminal gives you secure access to the touch electrodes. It allows you to quickly attach wires simply by putting them inside the terminal and screwing them tight.

Ground Plane
The ground plane allows you to solder wires to the Shield that are too big for the plated holes, for example, shielded cable strands.

Power and LEDs
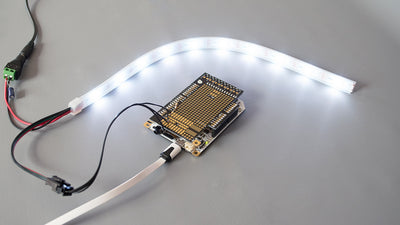
Finally, you might be wondering why the Proto Shield has such a strange shape? Quite simple: If you place the Proto Shield on top of the Touch Board, this shape allows for unrestricted access to the power switch, the LEDs, and the reset button.
Preparing the headers
The Proto Shield comes unassembled, so you need to do a bit of soldering to get started.
If you haven't soldered before, have a look at Sparkfun's excellent guide here. Once you're ready, it's time to get your solder equipment out!
To begin, you need to break the male headers into five pieces: 2 pieces with 13 pins, two pieces with eight pins and one piece with six pins. You can use pliers to break off the pieces or carefully snap them apart with your hands.
Check the images to make sure you have all the pieces you need.


Soldering the headers
You then need to solder the female headers to the Touch Board and the male headers to the Proto Shield.
The images on the right show which headers go where on the Touch Board and Proto Shield.
Top tip: If you solder the Proto Shield while placed on top of the Touch Board, as shown here, you ensure that the headers will be straight when attached.


Soldering the screw terminals
Last but not least, you can solder the screw terminals to the Proto Shield. The screw terminals come loose, but like puzzle pieces, you can connect them together.
Simply slide them together as shown on the image on the right. In the end, you should have 12 screw terminals connected in a row. Solder them onto the Proto Shield with the terminal's holes facing the edge of the Shield.

Start making!
Now that your proto shield is set up you can get started with your project!