How To Use The Touch Board As A Computer Keyboard

Write messages, control games, and more by setting up your Touch Board as a standard computer keyboard
Have you ever wanted to use your Touch Board as an HID keyboard input to your computer? You might want it to control your favorite online arcade game or act a bit more like a Makey Makey (but only needing one hand to actuate!). Or maybe you have another use in mind that requires keypresses. Either way, follow the steps below, and soon you will be typing away via the power of capacitive touch.
We love it when you share your projects! Post your project on Instagram, YouTube, or Twitter, and make sure to tag @bareconductive or use #bareconductive. You can also send your videos and photos to info@bareconductive.com so we can post them on our site for the world to see.
You will need:
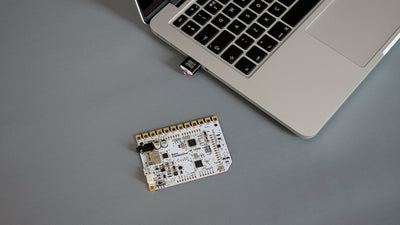
- 1 x Touch Board
- 1 x USB Micro B to USB A or USB C (depending on your computer's USB port type)
- 1 x Computer running Mac OS, Windows, or Linux
Step 1 Upload the code to the Touch Board
If you haven't already set up your Touch Board, please do so by following this tutorial here. Once you have, connect your Touch Board to the computer and turn the board on.
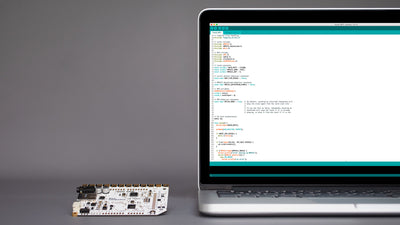
Open the Arduino IDE and load the sketch under File→Sketchbook→Touch Board Examples→HID_Keyboard. Then select the following:
"Bare Conductive Touch Board" under Tools→Board
"Bare Conductive Touch Board" under Tools→Port
Finally, hit Upload!
Step 2 Test the code out!
Open up a text editor, such as TextEdit, Gedit or Notepad. Touching E0 on the Touch Board will output the letter J, which you should see on the text editor screen. Going from E0 to E11 you should see:
J U H Y G T F D E S W A
If this works – congratulations, you have the code working! If you open Garage Band and press each electrode in turn, you will hear a scale being played. You may notice that there is no R in the string of letters above – this is due to the way that Garage Band maps keys to notes. We chose the default letters in the code to skip R so that it works well with Garage Band – but you can change them to whatever you like in the step below.
Step 3 Now modify it
If the letters that we chose are your favorites, then great! But what if they are not? No worries – you can easily change them by editing the keyMap variable on line 50 of HID_Keyboard.ino.
You can see an example of some non-printing keyboard strokes on line 51, and the Arduino Keyboard Modifiers Reference link here has lots of other valid keystrokes to choose from. The position of the key within the brackets determines its mapping – the first in the array maps to E0, the second to E1 and so on. Don't put more than 12 different items in the array or the code won't work. Also, don't forget that normal letters need single quotes around them, like 'A' whereas special keys are named constants like KEY_F1 (the "F1" key on your keyboard).
Step 4 Want to play some games?
Now that we have the keyboard code working, and can map it to whichever keys we like best, what should we do with it? As we previously mentioned, the stock code works well with GarageBand to play a simple scale, but what else could you do?
There are loads of online games out there that use the keyboard to control them. One of our favorites is Doodle here. This uses the left and right, up and down arrow keys to control your character's movement and space to fight baddies. So let's use the Touch Board to control that!
In HID_Keyboard.ino, uncomment line 51 to use an alternative key map. You do this by removing the // at the beginning of the line. Also, you should comment out line 50 (add // at the start of the line) – this will cause this code (the default map) to become greyed out and not active. If you now upload the modified code to the Touch Board, the first 5 electrodes (E0 to E4) will control the character – take a close look at line 51 to work out which does what.
Now go to the website and you should be able to control the game with your Touch Board. Once this is working, you can start to design your own custom gamepad or controller using Electric Paint and cardboard – or maybe something fancier!
Good luck, and have fun – let us know what YOU make.

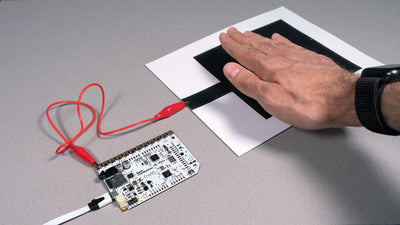
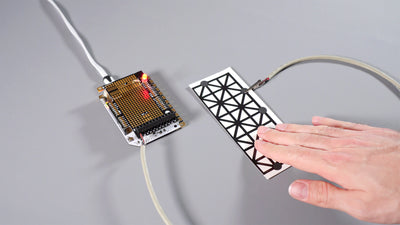
Step 5 Use with Printed Sensors
You can also try using our Printed Sensors to create your game controllers. Just cut the Printed Sensors into the shape that you want and cold solder them to the board! Pretty easy. In this example, we cut out two arrows and a space invader button.