How to attach the Light Up Board to your lamp template

Attach your Light Up Board to your lamp template or create your own custom lamp base
Whether you're assembling a lamp from the Electric Paint Lamp Kit, or you're planning a different project for your Light Up Board, you might be looking for some tips on how to attach the board. We wrote this tutorial to help you understand how to prepare a surface so that you can easily attach the Light Up Board.
We love it when you share your projects! Post your project on Instagram, YouTube, or Twitter, and make sure to tag @bareconductive or use #bareconductive. You can also send your videos and photos to info@bareconductive.com so we can post them on our site for the world to see.
You will need:
- 1 x Electric Paint Lamp Kit
- Sundry craft supplies (optional)
Step 1 Choose your material
The first step is to decide where you want to attach your Light Up Board. We recommend paper with a thickness of 300 gsm. However, you can experiment with other materials, as long as they have a bit of flex and aren't too thick or too thin. The Light Up Board's connector design requires a specific force for engagement. It's best to test a range of materials if possible.

Step 2 Prepare the cutout
With your material ready, you need to prepare the cutout. This is where the wings and inner tabs of the Light Up Board attach.
If you look at your Light Up Board you can see that it has two inner tabs, marked with a one on the image to the right, and three wings around the border, marked from 2 to 4. The cutout is designed to fit these wings so it's important that they are the right shape and size. Download the template here to cut by hand, or to use with your cutter.

Step 3 Align the Light Up Board
When placing the Light Up Board, make sure the correct tabs and wings are aligned as this is critical for it to twist into place. First make sure the line between the inner tabs runs from one corner of the tab to the other corner, as marked with a double arrow on the image. This is how you know that the Light Up Board is aligned correctly. Another clue is checking that the USB port is next to the second wing cutout.
If you're using Electric Paint, you might want to consider applying it first, this will give it time to dry completely before you attach the board.

Step 4 Follow the four-step process
Twisting the Light Up Board is a four-step process. Practice going through each step slowly until you can twist your board in and out in one motion.
- Twist in the inner tabs
- Then the first wing
- Then the second wing
- And finally the third wing
Step 5 Fully secured
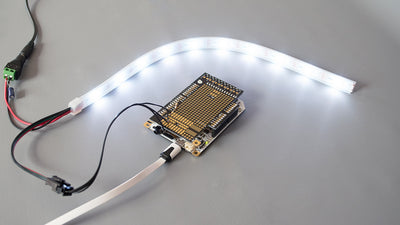
With all the wings and flaps in place, your Light Up Board should now be securely attached to the paper! You can now attach a USB cable to the board.