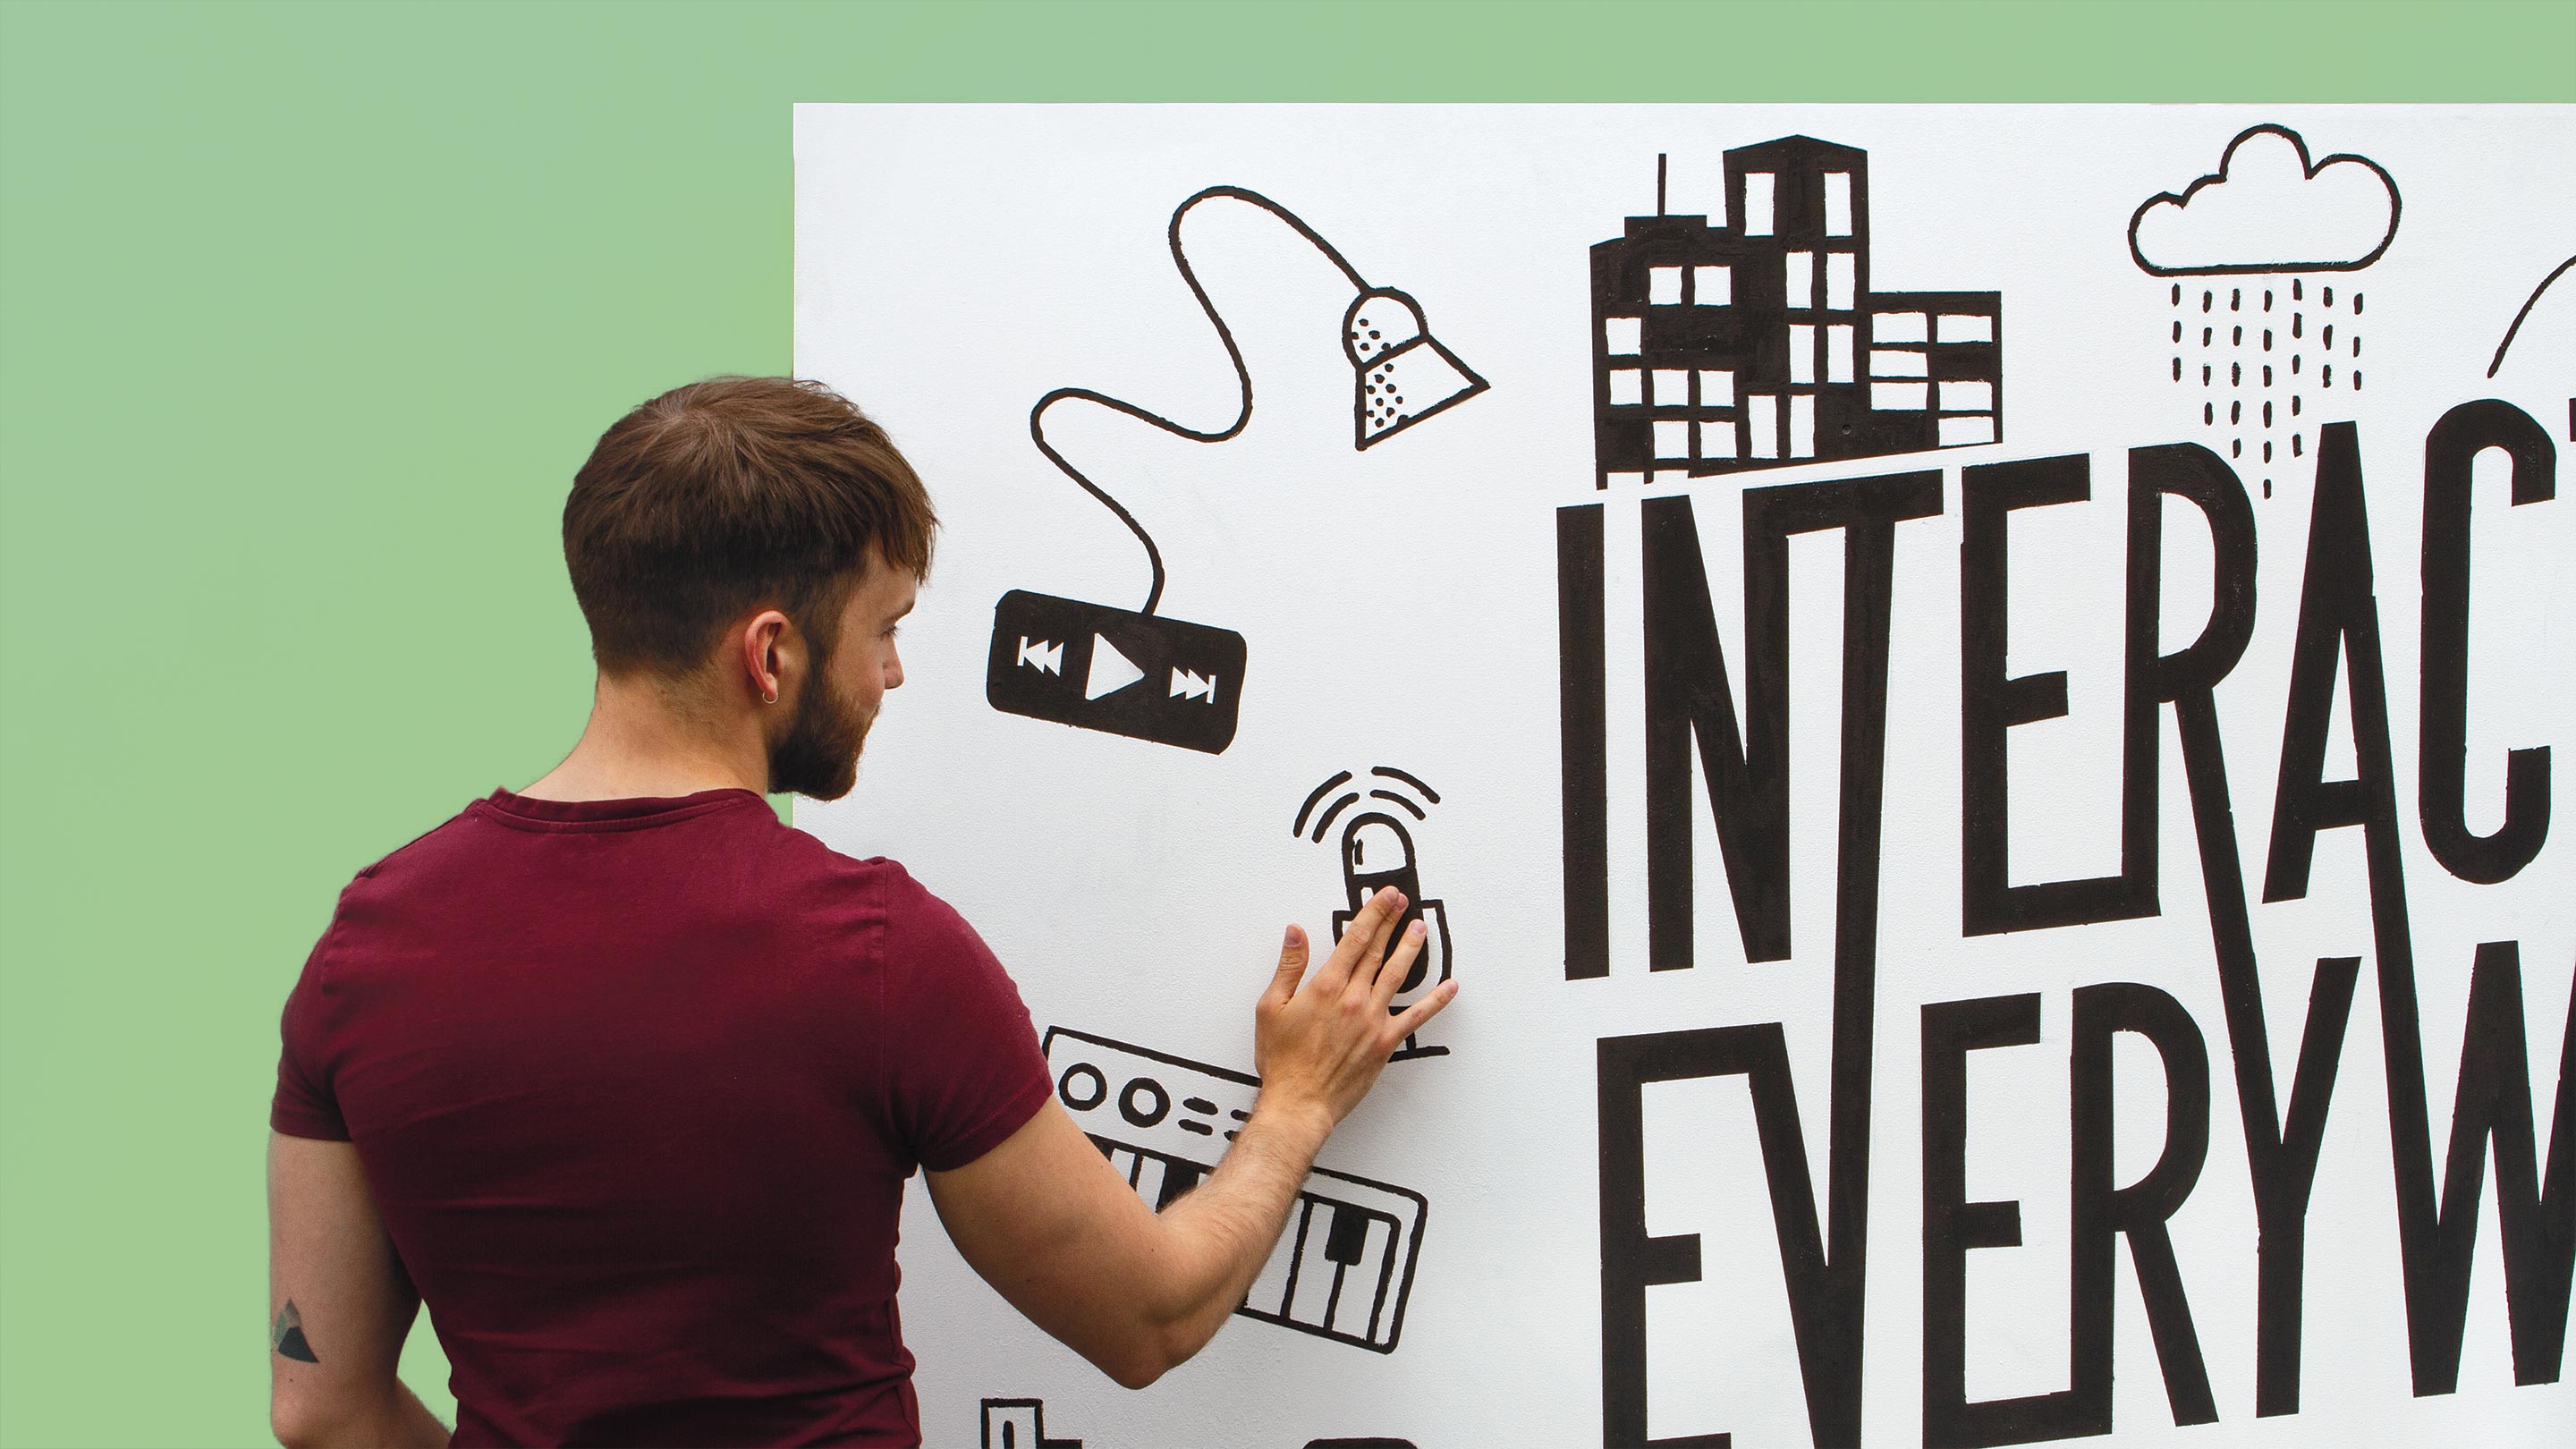
Interactive Wall Kit
Create incredible interactive walls and murals
After hundreds of interactive wall projects, we carefully designed this kit to make it easy to plan, prototype, and produce a large-scale project. Alongside the hardware included in the kit, we have extensive digital information and inspiration to kickstart your next project.
Buy nowGet started
Powered by the Touch Board
You might have used our most popular hardware before: The Touch Board! Each Interactive Wall Kit contains one Touch Board that has 12 touch sensors, which are extended with the included hardware.
12 touch sensors = up to 12 touch points on a wall
How does it work?
An interactive wall is created with a material where you apply the graphics on the front and attach the electronics to the back. We recommend using plywood, but you can also use other non conductive materials.
Drill holes through the wall
Once you know where you want the touch points located, you can drill holes through the wall and push screws through each hole.
Attach the Electrode Pads
An Electrode Pad is attached to each screw and will be connected to the Touch Board later.

Paint sensors with Electric Paint
When you are painting your graphics with Electric Paint, you are covering the screw heads. When the paint has dried, it is electrically connected to the Electrode Pad via the screw,

Connect electronics together
With all the graphics done, you connect everything together: The Touch Board is connected to each Electrode Pad with shielded cable. Once done, you are ready to turn the Touch Board on and turn a touch into sound or projection mapping.
Create an interactive sound wall
The Touch Board has on-board MP3 playback, so creating an interactive sound mural is, from a technical point of view, a plug-and-play experience. Simply connect a speaker to the Touch Board, change the sounds on the included microSD card and you are ready to turn touch into sound.
Continue readingCreate an interactive projection mapping wall
You can also use the touch points on the wall to trigger projection mapping, allowing you to tell a story or provide an engaging way to learn about a topic. For projection mapping you need to create the animations that you want to project, a projector and a projection mapping software.
Continue readingSee some of the projects our community have created

Dalziel and Pow
Using the Touch Board, Dalziel & Pow created an interactive projection mapping installation that inspired countless others to try their own.
Continue reading
byAR
byAR used the Interactive Wall Kit to create projection mapping, but instead on a wall, they used a table for a museum. The animations gave the visit more information when they interacted with it.
Continue reading
superlucid
dunkelblaufastschwarz uses the Interactive Wall Kit as part of their "superlucid" service: customised interactive wall installations for events.
Continue reading... and plenty more!
See all Interactive Wall Kit projectsFor an easy overview of all the community projects designers and artists have created, have a look at the spreadsheet that you can download below.
Download Design Community Projects OverviewWall Specifications
Wall size:
Wall thickness:
Number of sensors:
Default output:
Advanced output:
Up to 10m x 10m
Up to 25mm
Up to 12
Audio
USD MIDI, Serial
Proximity and Touchless Sensing
If you want to create sensors that don't require touching, no problem! You can also create proximity / touchless sensors with the Interactive Wall Kit and copper tape*.
Continue reading
Content
1 x Touch Board
1 x Electrode Shield
12 x Electrode Pads
12 x Shielded cables
42 x Fixing screws
1 x Interactive Wall Guide
50 x Cable management clips
1 x Cable marking set
1 x microSD card
1 x microSD card reader
1 x Micro USB cable
All of the Electric Paint
The Interactive Wall Kit was designed to create precise touch sensors with Electric Paint, which is an electrically conductive paint that dries at air and room temperature and is non-toxic. The 1L bucket of Electric Paint covers about 16m², more than enough for your wall!
Buy now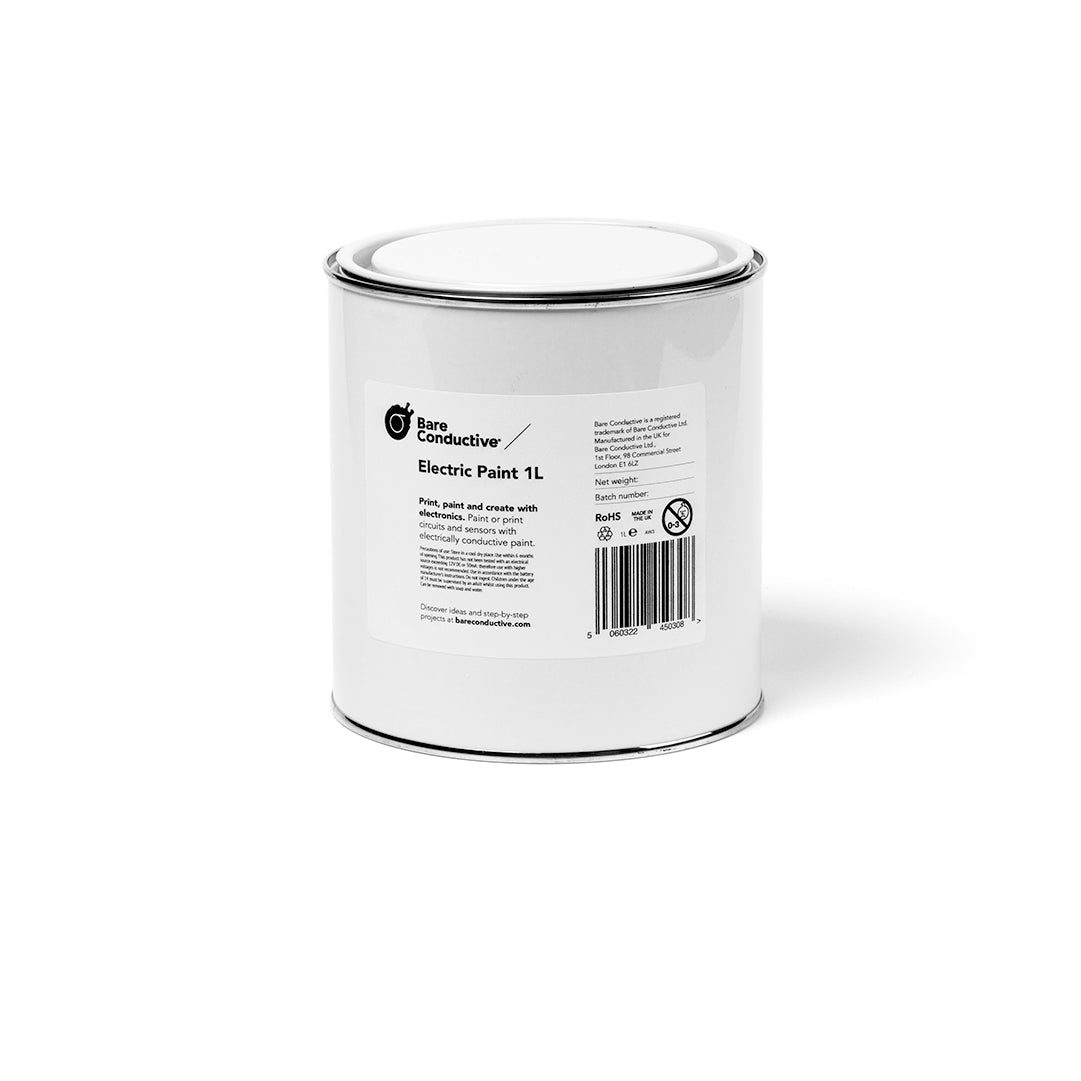
Frequently Asked Questions
What do I need to build an interactive wall?
We’ve designed the Interactive Wall Kit so that it can be installed by anyone without needing specialist skills.
All you need is:
1. Technology – Interactive Wall Kit and Electric Paint*
2. Creative content – Visuals and audio
3. Surface – A wall, floor, exhibition stand or retail display
How do I build an interactive wall?
Building your installation is easy and fast. With the right planning you can have it set up and running in one to two days.
Just follow these steps:
1. Create your visuals, or get someone with experience in graphics or audio/visual content to help.
2. Set up your surface, you can source a false wall or get any fabricator to build one.
3. Install and connect, just follow our step-by-step tutorials to connect our hardware.
Already got an Interactive Wall Kit?
If you already have an Interactive Wall Kit and want to get started, click below!
Get started

