How to solder headers onto the Touch Board

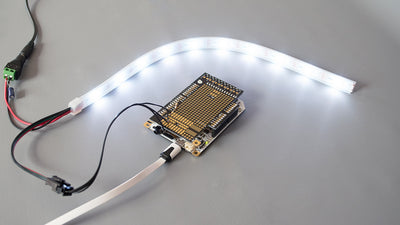
You might be considering adding shields, like the Pro Shield, or wires to the pins of the Touch Board. In this case, you should solder headers to the Touch Board. Headers allow you to easily connect wires or shields to the Touch Board. There are many in-depth tutorials on how to solder online, so we are going to explain only the fundamentals of soldering in this tutorial.
We love it when you share your projects! Post your project on Instagram, YouTube, or Twitter, and make sure to tag @bareconductive or use #bareconductive. You can also send your videos and photos to info@bareconductive.com so we can post them on our site for the world to see.
What you need for soldering
To solder, you will need a couple of pieces of equipment. First, the soldering iron. You can find many inexpensive soldering iron kits online that will do the job. The soldering iron needs to reach a temperature of around 350º C and should at least have either a conical or a chisel tip. It also helps to have an iron stand, where you can leave your solder iron to avoid burning yourself or your table top. You also need a wet sponge so you can clean the soldering iron.
Another important part is, of course, the solder itself. Again, there are many options to buy, either lead-free or with lead. The most popular one is lead-free rosin core solder, but we prefer solder with lead and which is "no-clean" as this kind of solder lasts longer and conducts better.

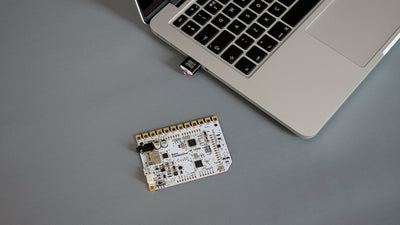
Preparing the Touch Board
If you look at the Touch Board, you can see four arrays of pins at the top and bottom of the board. For most shields, you need to connect to these pins. You need female headers that fit into the pins. If you only have one long, single row female header, you can cut it down with wire cutters. In total, you need:
- 2 x 8 pin female headers
- 1 x 6 pin female header
- 1 x 13 pin female header
Insert the headers into the Touch Board and place it on a stable surface, so that you can easily access the pins from underneath the Touch Board.


Tinning the solder iron
Next, turn on your solder iron, wait for it to heat up and make sure that your sponge is wet. Then, apply some solder directly to the tip of the soldering iron and wipe off any excess. This process is called tinning and helps with the soldering.
Soldering the headers
When you have everything ready, it's time to solder the headers onto the Touch Board. Place the soldering iron against the copper pad and the pin from one side. From the other side, approach the joint with the solder. The solder should just flow into the joint. The resulting solder joint should be in the shape of a volcano.
Once you have soldered one pin, you are ready to move on to the next one! Clean the soldering iron by wiping it against the sponge and if necessary, tin the solder iron again, then solder the next pin.
Results
In the end, all four headers should be attached to the Touch Board with every pin soldered on. Make sure that the solder connection on each pin is correct, otherwise, your shield or wire might not connect.

Desolder
If you have made a mistake or the soldering isn't as neat as you want it, you can desolder the connection. First, you can use the desoldering pump to remove any excess solder. Heat the joint with the solder iron and then suck away the solder with the pump. You can also use the desoldering braid. Hold a piece of it over the solder joint and press the solder iron against it, from behind. This will cause the solder to flow into the desoldering braid.
If you are interested in finding out more about soldering, we would recommend this Sparkfun article.

Headers for the electrodes
If you are going to use the electrodes with your shield, you need to also solder a 13 pin header onto the pins that are marked with "TOUCH ELECTRODES".