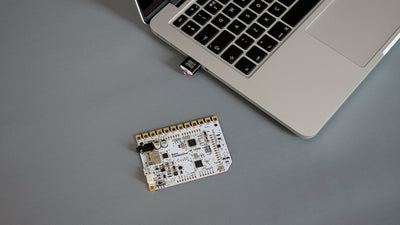
How To Connect To The Sensors Of The Touch Board

Learn how to connect to and extend your board's capacitive sensors
So far, you might have used only Electric Paint or some wires with crocodile clips to connect to your Touch Board. But we designed the Touch Board electrodes with dozen of connection ideas in mind. This tutorial will take you through some basic ways to extend away from the board and into your project. But feel free to experiment with new techniques and let us know what you discover.
We love it when you share your projects! Post your project on Instagram, YouTube, or Twitter, and make sure to tag @bareconductive or use #bareconductive. You can also send your videos and photos to info@bareconductive.com so we can post them on our site for the world to see.
You will need:
- 1 x Touch board
- Electric Paint 10ml, 50ml or 1l
- Conductive craft materials or whatever you want to experiment with
- Sundry supplies
Step 1 Electric Paint
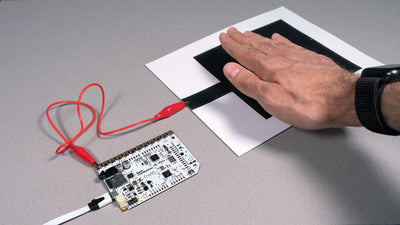
Electric Paint is a water-based paint that conducts electricity. The paint is an excellent solution if you want to connect your electronic components or draw your creative interface quickly. Depending on how thick you apply the paint, it takes about 15 minutes to dry. It works well on walls and flat surfaces, but it's not as good a conductor as copper wire. Because of this, we wouldn't recommend long runs of Electric Paint from your board to your sensor. For that, we have plenty of other conductive materials, as discussed below.

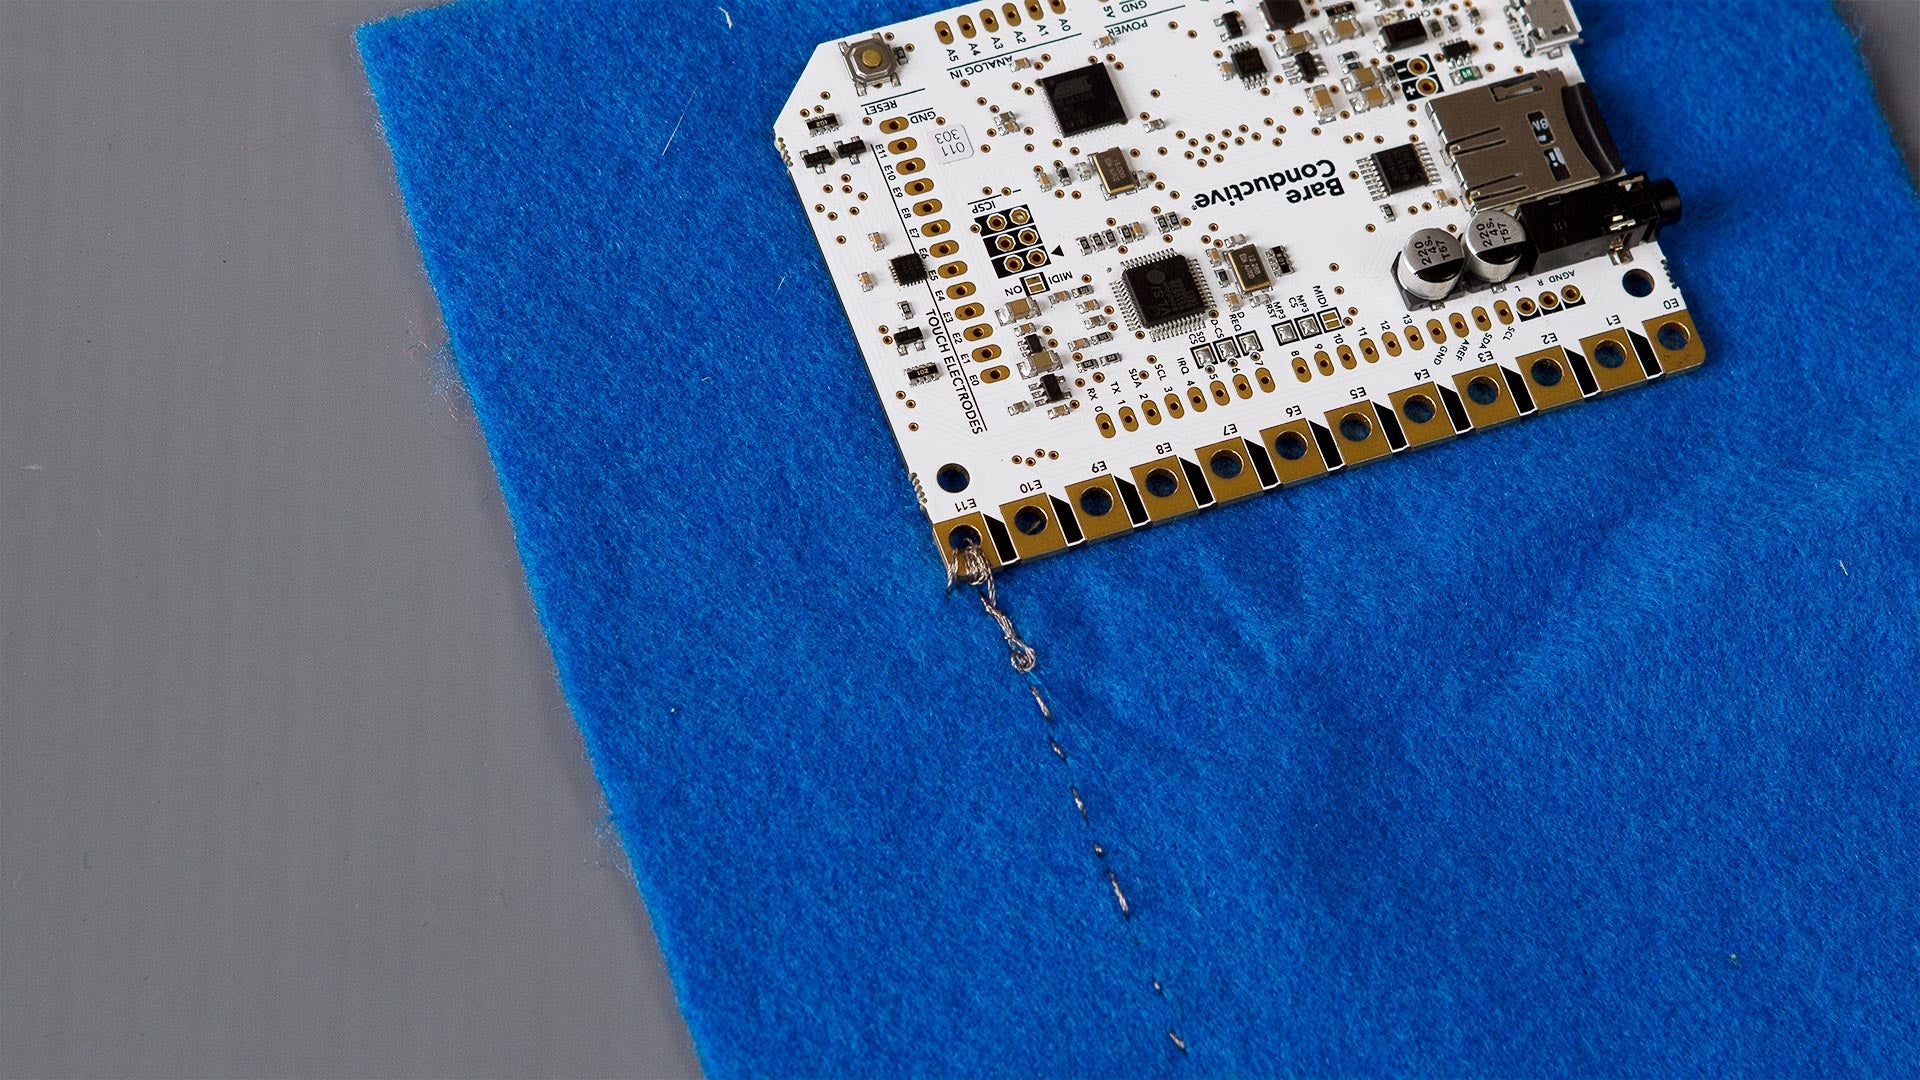
Step 2 Conductive thread
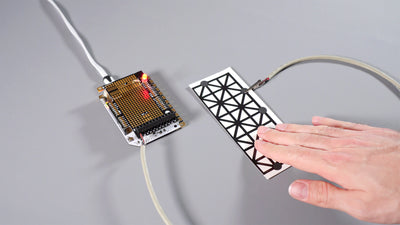
You can integrate your board into your e-textile project with conductive thread. Loop the thread a couple of times around an electrode and then simply sew the thread to whatever you want to use as an interface. You can then trigger the electrode directly by touching the thread.
Step 3 Copper tape
Adhesive copper tape is convenient and easily sticks on walls or other flat surfaces. It doesn't allow you to be as creative as Electric Paint does, but if you need to create reliable straight connections, then the tape does an excellent job. As the tape is self-adhesive, it's straightforward to apply, it sticks well on surfaces and it conducts electricity just like a wire. You can also secure the connection by cold soldering the board onto the copper tape. Copper tape is a great option if you want to run a long distance from your board to an Electric Paint sensor.

Step 4 Magnet
Magnets are a great one to try, and they will allow you to easily remove your Touch Board in and out of your Electric Paint interface. You can find a range of small magnets from lots of places, we like e-Magnets.
Simply attach small magnets onto the Electric Paint, or other conductive surfaces – you can do this using the paint itself or a stronger adhesive – then use another set of magnets to connect the Touch Board through the electrodes to that interface. This is a great application for walls or other flat surfaces.


Step 5 Ring terminals
The electrodes are conveniently sized for M3 hardware. If your project is mounted into a permanent installation, you can easily fit some M3 screws or spacers through the electrodes to attach the board. Combine your screws with some ring terminals, nuts, and bolts, and you got yourself a very robust set-up! Using ring terminals is excellent when you are considering a set-up with wood or walls that need to last a bit longer.
Step 6 Crocodile clips and wires
Crocodile clips benefit from being super easy to attach and detach off the electrodes, which is practical for quick prototyping. While they aren't the most stable of the methods discussed so far, they also don't leave any traces and are applied in a matter of seconds. They are convenient for situations where you just want to quickly connect to your electrodes.

Step 7 Solder
This method is exclusive to the Touch Board. When you look at your Touch Board, you can see that the touch electrodes are also available on the right-hand side. This row of pads allows you to solder wires to the electrodes if your application does not require flat mounting. You may also want to consider using shielded cable for your application (check out the tutorial on shielded cable to find out more).
Soldering wires onto your Touch Board requires a bit of experience and can leave some traces if you remove your wires, so make sure you know what you want to solder to!
Step 8 Conductive carbon tabs
Conductive carbon tabs are practical when you want to quickly attach your sensors to Electric Paint. The tabs are double-sided, and we recommend sticking them to the paint first and then attach the sensors after. They are not as versatile as Electric Paint but are great for rapid prototyping.
Step 9 Any issues
This is obviously not an exhaustive list of techniques, so feel free to experiment and develop your own. If you discover any clever solutions we'd love to hear what they are so we can share them with our community.