How To Connect To Processing With The Touch Board

Expand your Touch Board's potential by connecting it to a versatile graphic arts programming tool
Processing is a fantastic tool built for the visual arts community. It is useful when you need a communicator between the Touch Board and another program, like a browser or music software. Processing is based on the Java language, but the language is similar to the Arduino.
We have written a Processing example sketch, which you can use to communicate with the Touch Board. You can use this sketch to send data, for example, if an electrode has been touched or not, to your Processing application.
We love it when you share your projects! Post your project on Instagram, YouTube, or Twitter, and make sure to tag @bareconductive or use #bareconductive. You can also send your videos and photos to info@bareconductive.com so we can post them on our site for the world to see.
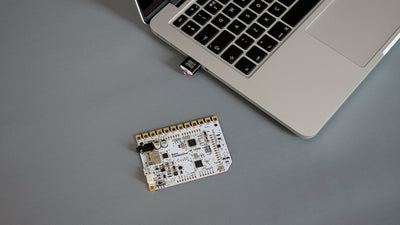
You will need:
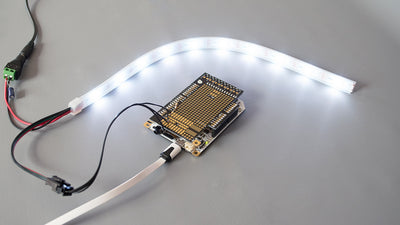
- 1 x Touch Board
- 1 x USB Micro B to USB A or USB C (depending on your computer's USB port type)
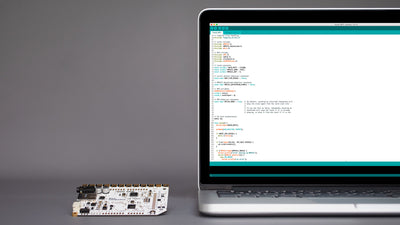
- 1 x Computer running Mac OS, Windows, or Linux with the latest version of Processing installed
Step 1 Upload the code to the Touch Board
If you haven't set up your Touch Board, then check out the set-up tutorial. Find the "DataSteam.ino" code under
File → Examples → MPR121 → Examples
Upload the sketch to the Touch Board, ensuring that you have selected the right settings for the Touch Board.
Also, note the Touch Board's serial ID by looking at the bottom right corner of the Arduino IDE. In our case, the ID of the board is "/dev/cu.usbmodem1401". You will need this information later.
Step 2 Set up Processing
If you haven't downloaded Processing yet, please do so by downloading the latest version of Processing here. Once downloaded, open Processing, and check its default document folder under
Processing→Preferences…
Then, download the Processing sketch. Unzip the file and move the folder "simple_touch_board" to the location you just looked up and open the file.
Step 3 Run the Processing sketch
Once you have the sketch open, run it for the first time. In the console window, you will see a list of devices all starting with "/dev/". These are the Serial devices that we can access, one of them being the Touch Board, whose name we have from Step 1 above. The list counts from 0, so the first device is assigned number 0, the second one is number 1, and so on. In the code, change the variable device_number to correspond to the Touch Board.
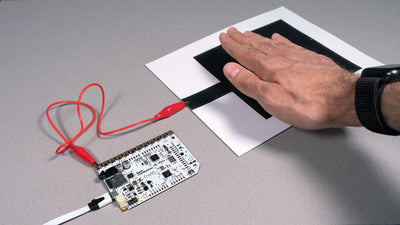
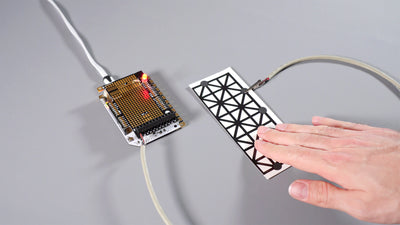
Run the sketch again and try pressing electrode 0. It should say in the console window "Electrode 0 was touched" and "Electrode 0 was released"!
Step 4 Next steps
Now that you got Processing working with the Touch Board, you can use online tutorials on how to use Processing to open up a website with the help of a library. It takes a bit of programming, but there's a lot of support out there.