How To Connect The Touch Board To Max/MSP/Jitter

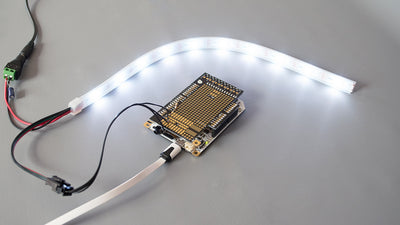
Max/MSP/Jitter opens up a world of interactive possibilities for your Touch Board projects
Max/MSP/Jitter user? Cool! The Touch Board works great with Max. The following tutorial shows you how to get your board set up and gives you a brief introduction to our basic Max patch.
We love it when you share your projects! Post your project on Instagram, YouTube, or Twitter, and make sure to tag @bareconductive or use #bareconductive. You can also send your videos and photos to info@bareconductive.com so we can post them on our site for the world to see.
You will need:
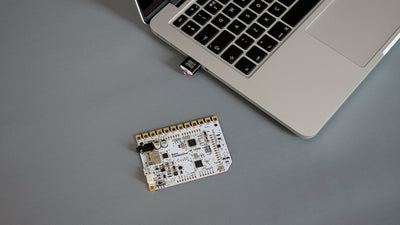
- 1 x Touch Board
- x USB Micro B to USB A or USB C (depending on your computer's USB port type)
- 1 x Computer running Mac OS, Windows, or Linux, with Max/MSP 7.0 or later
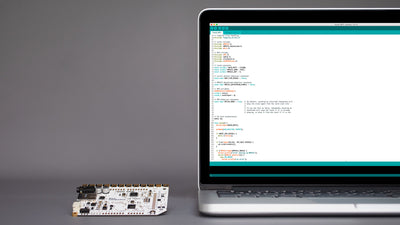
Step 1 Upload Datastream to your Touch Board
Your Touch Board will need our DataStream code to communicate with the Max patch. The DataStream code is an example within our MPR121 Library. Find it by navigating to File/ Examples/ MPR121/ Examples/ DataStream. Make sure to select the correct Board and Port before hitting upload.
If you haven't set up your Touch Board with Arduino, then make sure to complete our "Setting up Arduino with your Touch Board" tutorial first (link below).
Step 2 Check Datastream
Check that you've uploaded Datastream correctly by opening up the Serial Monitor (Tools/Serial Monitor) in Arduino. You should see a stream of values.
Uncheck auto-scroll to pause the values, and you'll note that there are repeating lines of values that start with TOUCH, TTHS, RTHS, FDAT, and BVAL. Don't worry about them for now. This is the raw data that Max is going to parse.
Step 3 Download the Patch
To download our Touch Board Communication patch, click the link below and unzip it to a convenient location. Our patch runs on Max 7.0 or later. If you don't already have MaxMSP installed, you can find a link below.
Step 4 Start it Up
Make sure that the Touch Board Communication patch is closed. Plug in your Touch Board and open up the patch. Your Touch Board should then appear in the drop-down menu. Select it, and you should see the numbers immediately start changing, and the slider objects should come to life. Touch the electrodes on the board and watch the values change.

Step 5 Presentation Mode
The patch is well documented, so make sure to read all the notes there. The patch opens in presentation mode and is only showing you a small piece of the data the Touch Board is producing. Exit presentation mode (View/Presentation) to see all the data types available.

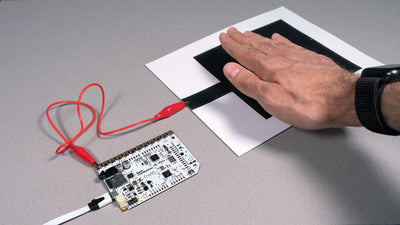
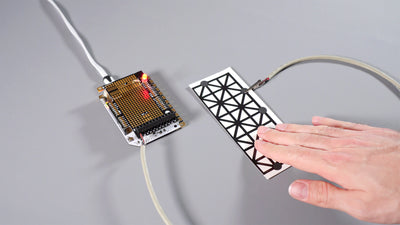
Step 6 Experiment!
MaxMSP and the Touch Board work great together. Have fun connecting the physical to the digital, getting Max to talk to Ableton Live, but most importantly, do something we haven't thought of yet. Let us know how you get on and share what you get up to!