Create A DJ Mixer With The Pi Cap

The Pi Cap has polyphonic playback, which means you can play multiple tracks together at the same time, without needing to stop a playing track first. This allows you to mix songs and tracks and create a DJ mixer with the Pi Cap. For this tutorial, we SSH into the Pi to set up the power switch, but if you don’t want to use SSH and the terminal, you can also use a monitor, keyboard and mouse connected to your Raspberry Pi.
We love it when you share your projects! Post your project on Instagram, YouTube, or Twitter, and make sure to tag @bareconductive or use #bareconductive. You can also send your videos and photos to info@bareconductive.com so we can post them on our site for the world to see.
Choose and change the tracks
The Pi Cap has 12 electrodes, which means you can mix up to 12 different tracks! These can be anything from a background track to voice overlays or mixed instruments. We used three instruments from Garageband in our demo.
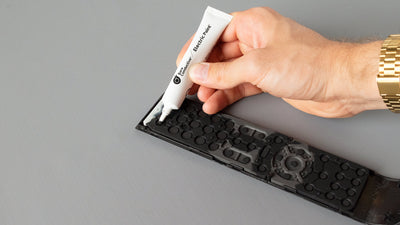
If you haven't changed the tracks on the Pi Cap before, have a look at our changing tracks tutorial. For this tutorial, we are using the Python example code, but you can also use any of the other example codes.
Touch the sensors to mix the tunes
Once you have changed the tracks, attach some speakers and run the code by entering "PiCapExamples/Python/picap-touch-mp3-py/run". The code should now use the new tracks that we have just changed. Try mixing the tracks by touching the corresponding electrodes. Note that timing is key, so it might be a bit tricky at first, but keep trying and get creative!
Take it further
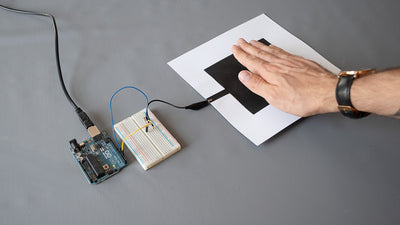
You can take the DJ mixer even further by using Electric Paint and changing the electrodes to proximity sensors. For example, we have painted three circles with Electric Paint, cold soldered our Pi Cap to it and triggered the tracks by approaching the circles with a hand.
We'd love to see your creations, send us your images or videos to info@bareconductive.com or via Instagram or Twitter.