How to make a MIDI piano with the Pi Cap

Use the power of the Pi Cap and the Raspberry Pi to make a stand-alone musical instrument
The Pi Cap is great for adding sound to your Raspberry Pi projects and creating a MIDI piano with the Pi Cap is easily done! All you need is a Raspberry Pi, a Pi Cap, some Electric Paint and a piece of paper. For this tutorial, we SSH into the Pi to create the piano, but if you don't want to use SSH and the terminal, you can also use a monitor, keyboard and mouse connected to your Raspberry Pi.
We love it when you share your projects! Post your project on Instagram, YouTube, or Twitter, and make sure to tag @bareconductive or use #bareconductive. You can also send your videos and photos to info@bareconductive.com so we can post them on our site for the world to see.
Step 1 Set-up the Pi Cap
If you haven't set up your Pi Cap then make sure to complete our set up tutorials first:
Setting up your Pi Cap on the Raspberry Pi 1, 2 or 3
Step 2 Download FluidSynth and the project
Once you have SSH'd into the Pi, download FluidSynth by entering "sudo apt-get install fluidsynth". This will install the library that you need.
Next, download the MIDI piano code by entering "git clone https://github.com/BareConductive/picap-midi-cpp". You can find the project on our GitHub page.

Step 3 Test the code
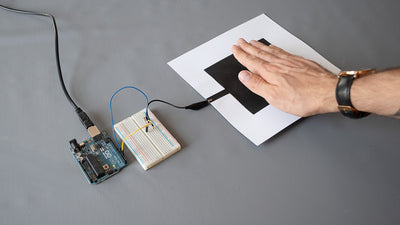
When you have downloaded the project, connect some speakers or headphones to the Raspberry Pi. If you are using a Pi Zero, connect the speakers or headphones to the Pi Cap. Run the code by entering "./picap-midi-cpp/run". Try touching the electrodes, you should be able to hear the piano keys!
If you want to quit the code hit the CTRL + C keys. If you want to change the keys that are used, open the main code with "nano ./picap-midi-cpp/midi.cpp". At the bottom of the code you can find the lines "cout << "noteon 0" << 71-i <<" 100″ << endl;" and below you can find the corresponding line with "noteoff". The 71 here refers to a piano key, by changing it to a number between 11 and 127, you can change the set of keys that are playing.

Step 4 Attach piano keys
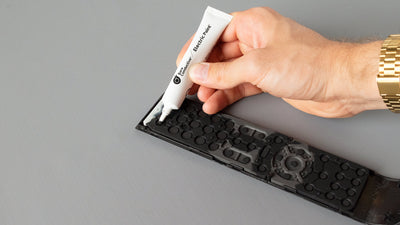
The electrodes of the Pi Cap are simulating the piano keys and you can use any conductive materials to connect to the electrodes. For example, you could use Electric Paint, crocodile clips, or copper tape.
For this tutorial, we have screen printed 12 piano keys with Electric Paint. To find out how to screen print with Electric Paint, have a look at our screen printing tutorial. You can download the piano stencil as part of the digital toolkit. We then cold soldered the Pi Cap to the piano. For more information about cold soldering, you can read the cold soldering tutorial. It's easier to unplug the Pi if you are cold soldering to the Pi Cap.

Step 5 Run the code
Plug the board back in, power it up and run the code. When you now touch the Electric Paint, you should hear the piano keys!
To take this project further we suggest looking into launching the code at start-up and adding a power switch to the Pi.
Step 6 Use your own sounds
If you want to, you can use your own sounds, and instead of playing the piano, you can set up a mixing desk. Read our How to create a DJ mixer with the Pi Cap tutorial to find out more.