How to create proximity sensors with the Interactive Wall Kit

Integrate touchless interaction into any interactive wall design
Our Interactive Wall Kit creates exciting and engaging installations. But did you know that you can create touchless interactions too? With a few simple changes, your installation can become more magical and more hygienic, with no touching required to interact.
In this tutorial, we will tune the Interactive Wall Kit's capacitive proximity sensors, allowing users can interact with your wall without having to touch the surface. If you want to create touch-sensitive sensors instead, please follow this touch wall sensors tutorial.
We don't sell copper tape or sheets, but you can find them in many online shops!
We love it when you share your projects! Post your project on Instagram, YouTube, or Twitter, and make sure to tag @bareconductive or use #bareconductive. You can also send your videos and photos to info@bareconductive.com so we can post them on our site for the world to see.
You will need:
1 x Interactive Wall Kit
—
1 x Copper tape, around 10mm width
1 x USB Micro B to USB A or USB C (depending on your computer's USB port type)
1 x Computer running Mac OS, Windows or Linux
Create the sensor
First, we have to decide where to place our sensor. From the front, decide where the user is going to interact with your interactive wall. Create a sensor directly behind the wall in that same location. Then, using the copper tape, create a hatched sensor.
Attach the Electrode Pad
In the center of the sensor, where the tape creates a cross, attach the Electrode Pad with the self-tapping screws. Make sure to screw the screws in completely so that the connection between the pad and the copper tape is super tight.
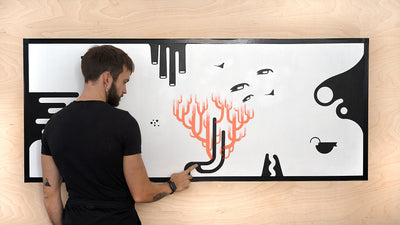
Apply the graphics
Now, apply the graphics at the front of your wall. You can paint, apply a vinyl decal or use any other medium to create your image. Just remember that whatever you use can't be electrically conductive. So no designs from aluminum foil, please. As a note, metallic-looking vinyl is not generally electrically conductive, so feel free to cover with as much sparkly gold vinyl as you like.
Test the sensor
Plug one end of the shielded cable into the Electrode Pad, the other into the Electrode Shield. Turn the Touch Board on, or reset it. When you turn the board on, don't have your hand close to the sensor, as this would influence the sensor reading during the initial calibration of the system. Test your sensor by hovering your hand over the graphic. You should be able to trigger the sensor from a distance.
If you want to visualise the sensor and any detection, we recommend using the Grapher. Alternatively, you can use the sensor as a proximity switch and play an MP3 file.
And remember, proximity sensing is more delicate than touch sensing and is, therefore, more prone to noise, so you'll have to test your set up, and make sure to not build the wall too close to metal objects.
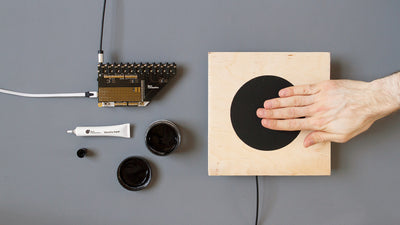
Create a proximity sensor on glass
You can use a similar method to create proximity sensors on single-glazed glass. We use carbon sticker dots that you can buy online to attach the pad to the copper tape. In this example the glass is about 5mm thick and the diameter of the copper tape sensor is about 5cm. This method doesn't work on double-glazed glass.