How To Change The Volume On The Pi Cap

Change the volume of your Pi Cap project with a simple change in code
If you want to change the volume, you can do this easily with the help of alsamixer. In this tutorial, we are going to show you how.
We use SSH and the terminal to do this. If you don't want to use SSH and the terminal, you can also use a monitor, keyboard and mouse connected to your Raspberry Pi to change the volume.
We love it when you share your projects! Post your project on Instagram, YouTube, or Twitter, and make sure to tag @bareconductive or use #bareconductive. You can also send your videos and photos to info@bareconductive.com so we can post them on our site for the world to see.
Use alsamixer
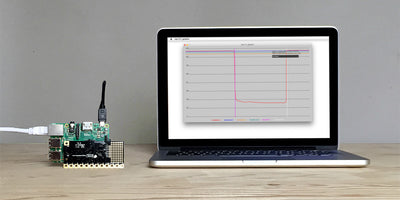
Once you've SSH'd into your Pi, type
alsamixer
This will bring up an interface within the terminal which will allow you to set the volume of the Raspberry Pi. Simply press the up and down arrow keys to either increase or decrease the volume. When you are done, press ESC.


Run the code
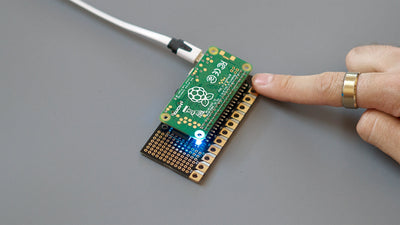
Now run one of the code examples, for example
PiCapExamples/Python/picap-touch-mp3-py/run
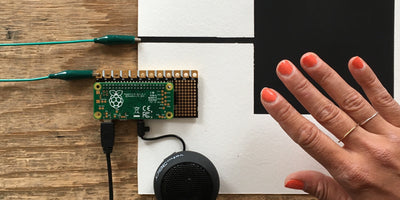
to run a touch-mp3 code. If you touch the electrodes, you can play the tracks with the new adjusted volume!
Here, we tested our changes with the Python code, but the same method will work for the C++ or Node.js examples too.
You can use this for your interactive Pi Cap projects, like making a MIDI piano or DJ mixer!